1. Welcome Screen
In this lesson we will learn
- how to plan a screen using a wireframe and a class diagram
- how to change the window settings in Globals.py
- how to create a GameFrame Room and give it a background
- how to create a RoomObject with an image and add it to a Room
- how to commit and push our code to GitHub
Terminology
- wireframe – a simple plan of a screen that shows where things like buttons, images and text will go, focusing on layout rather than colours or details.
- placeholder – a simple shape, such as a box with an X, that marks where something will go in a plan.
- class diagram – a diagram that shows a class's name, its attributes and its methods.
- subclass – a class that is built from another class (its parent) and gets all of the parent's attributes and methods.
- docstring – a block of text in triple quotes at the start of a class or method that explains what it is for.
- inheritance – when a subclass automatically receives all the attributes and methods of its parent class.
- traceback – the error report Python prints when a program crashes, showing the path it took to the error with the most recent step last.
- module – a Python file containing code, such as classes or functions, that can be imported into other files.
- structural comment – a comment that says what the next block of code does, making our code easier to find our way around.
- case-sensitive – treating capital and lower-case letters as different, so
background.pngandBackground.pngare not the same name.
To get started, we will create a welcome screen for the game. It's a simple screen, but it introduces the key ideas and processes we'll use in every lesson.
Planning
Wireframe
Wireframes
A wireframe is a simple plan for a screen. It shows where things like buttons, images and text will go. It focuses on layout, not colours or small details, a bit like a sketch before a finished drawing.
Below is a wireframe of the welcome screen.
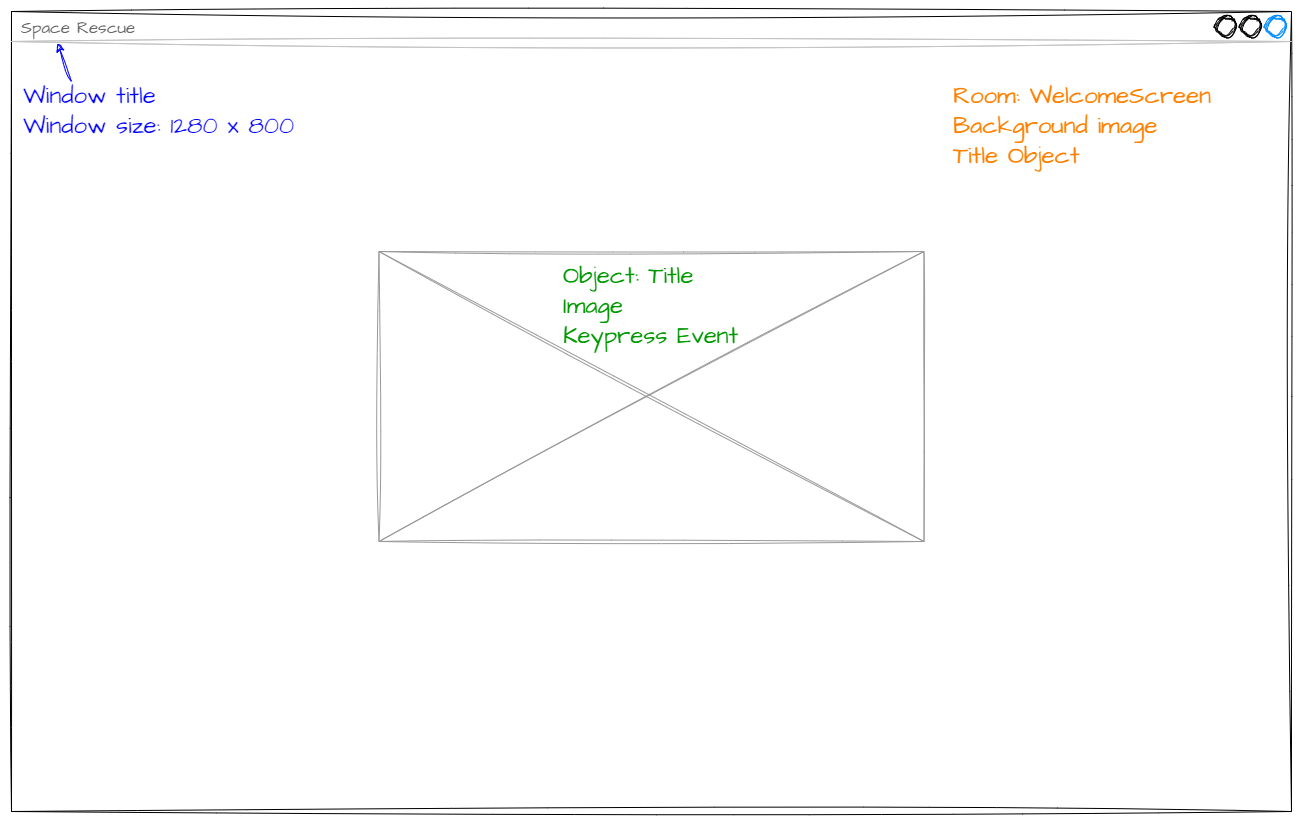
The wireframe shows three parts of the program we need to work on:
- the game window (blue text):
- this is the window that displays the game
- we need to change its size and title
- the WelcomeScreen Room (orange text):
- this is the area inside the window where the game runs
- it has a background image and the Title object
- the Title object (green text):
- shown as a placeholder (a box with an X)
- it uses an image
- it responds when the space key is pressed
Class diagram
Now we know what the screen will look like, let's think about the classes. Check out Deepest Dungeon if you need a refresher on class diagrams.
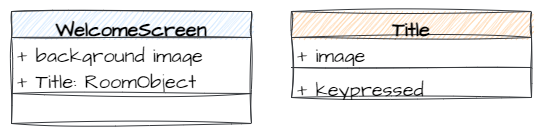
The WelcomeScreen class has two attributes:
- a background image
- a
TitleRoomObject
The Title class has:
- an
imageattribute - a
key_pressedmethod
So there are four tasks to create the welcome screen:
- Adjust the window values
- Create the
WelcomeScreenRoom - Create the
TitleRoomObject - Add the
TitleRoomObject to theWelcomeScreenRoom
Let's get started.
Adjust the window values
The window settings are in Globals.py in the GameFrame folder. Open GameFrame/Globals.py and change the highlighted code below, then save it.
| GameFrame/Globals.py | |
|---|---|
Code explanation
- lines 7–8 → set the width and height of the game window, in pixels.
- line 16 → sets the text shown in the window's title bar.
Create the WelcomeScreen Room
Let's check the GameFrame API to see how to create a Room. Rooms are subclasses of GameFrame's Level class.
Create a new file in the Rooms folder, add the code below and save it as WelcomeScreen.py.
| Rooms/WelcomeScreen.py | |
|---|---|
Code explanation
- line 1 → imports the
Levelclass from GameFrame. - line 3 → defines the
WelcomeScreenclass as a subclass ofLevel. - lines 4–6 → a docstring that explains what the class is for.
- line 7 → defines the
__init__method, which runs automatically when aWelcomeScreenobject is created. - line 8 → runs the
__init__method of theLevelparent class, soWelcomeScreeninherits all ofLevel's attributes and methods.
Testing WelcomeScreen
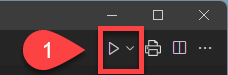
Now that we've made the welcome screen, let's run the game and see what happens. Open MainController.py and click the Run button in the top-right corner.
That didn't go to plan. We should see this error:
- line 1 → Python is showing us the path it took to the error, most recent step last.
- lines 2–4 → the error happened on line 34 of MainController.py, where GameFrame tries to create our Room.
- line 5 → the
TypeErrorsays GameFrame found a module (the file WelcomeScreen.py) instead of a class it can call.
We'll see this error again, so it's worth remembering. Back in Get to Know GameFrame we learnt that every new Room or Object must be added to __init__.py. This is the error we get when we forget.
Open Rooms/__init__.py, add the code below and save it.
| Rooms/__init__.py | |
|---|---|
Code explanation
- line 1 → imports the
WelcomeScreenclass from the WelcomeScreen.py file, so GameFrame can find it.
PRIMM
- Predict what you think will happen when we run MainController.py. Be specific.
- Run the program.
- Time to investigate. What has changed since we edited Globals.py?
We should now have a screen like this:
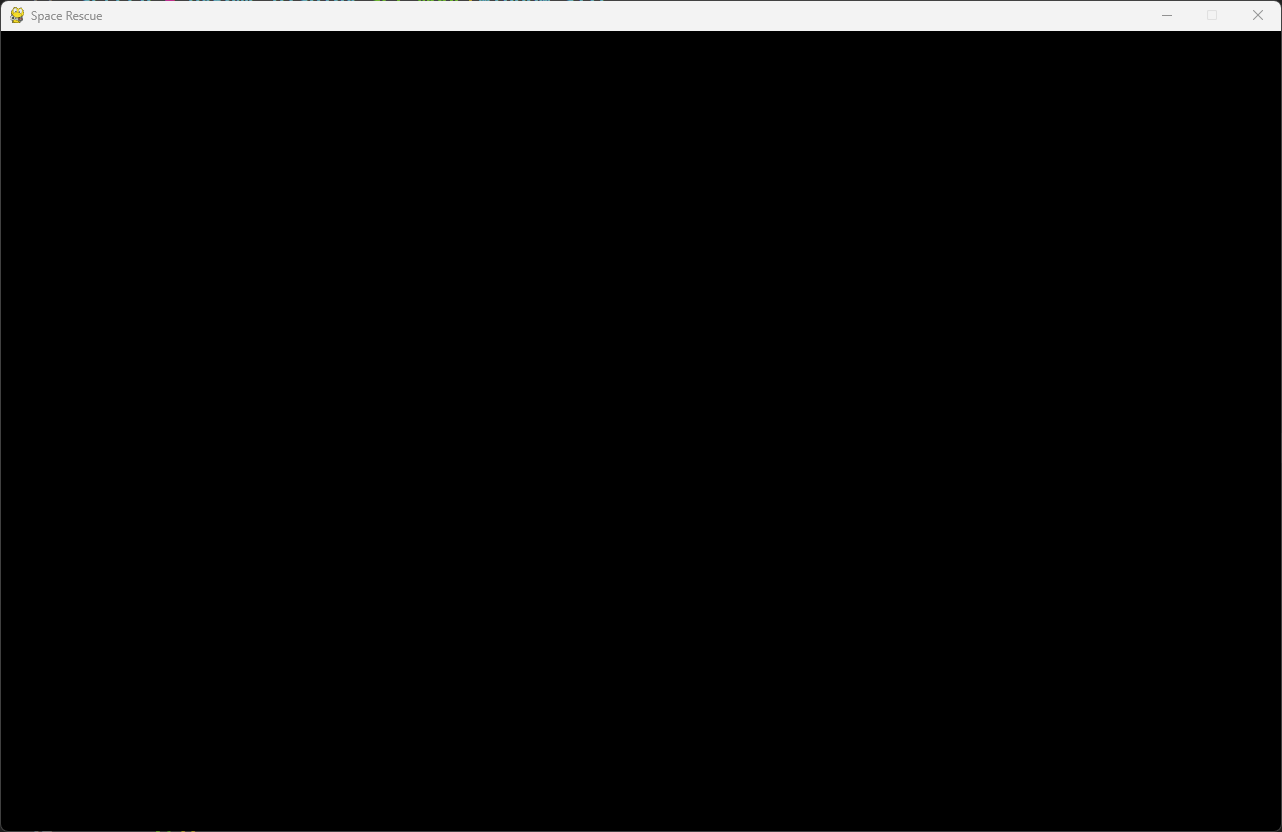
Not very exciting, but it's the right size and the title bar says Space Rescue, so that's a start.
Adding the background
Let's make it less boring with a background image. Checking the GameFrame API, there's a set_background_image method that takes an image file. We want the background to appear as soon as the Room is created, so we'll call it in the __init__ method.
Go back to Rooms/WelcomeScreen.py and add the highlighted code below.
| Rooms/WelcomeScreen.py | |
|---|---|
Code explanation
- line 11 → calls the
set_background_imagemethod thatWelcomeScreeninherited fromLevel, using the background.png file from the Images folder. We useselfbecause the background belongs to this Room.
Structural comments
Line 10 is a structural comment. It says what the next block of code does, which makes our code much easier to find our way around as it grows. It's a good habit to get into.
File names are case-sensitive
The file is background.png, all lower case. Windows doesn't mind if we type "Background.png", but macOS and Linux can, and the game will crash with FileNotFoundError. Always match the file name exactly.
PRIMM
- Predict what the window will look like now.
- Run MainController.py.
- Investigate: open the Images folder and find background.png. Is it the image you can see?
Create the Title RoomObject
Now that we have a Room, we can create the Title RoomObject to put inside it. Let's check the GameFrame API. It's a similar process to creating a Room:
- Create a new file in the Objects folder
- Import the parent class
- Initialise the class
- Add the new class to __init__.py
Notice that RoomObject has many more methods than Level. That's because the game logic lives in the objects.
Create a new file in the Objects folder, add the code below and save it as Title.py.
| Objects/Title.py | |
|---|---|
Code explanation
- line 1 → imports the
RoomObjectclass from GameFrame. - line 3 → defines the
Titleclass as a subclass ofRoomObject. - lines 4–6 → a docstring that explains what the class is for.
- line 7 → defines the
__init__method, which takes the Room the object belongs to and itsxandyposition. - line 8 → runs the
__init__method ofRoomObject, soTitleinherits all of its attributes and methods.
This is very like the WelcomeScreen class. Next we need to give the object an image. Go back to Objects/Title.py and add the highlighted code below.
| Objects/Title.py | |
|---|---|
Code explanation
- line 11 → loads Title.png from the Images folder and stores it in the
imagevariable. - line 12 → gives this object the image, at a width of
800and a height of350pixels.
Finding an image's width and height
The easiest way to find an image's width and height is to open it in VS Code and look at the status bar in the bottom right.

Open Objects/__init__.py, add the code below and save it.
| Objects/__init__.py | |
|---|---|
Code explanation
- line 1 → imports the
Titleclass from Title.py, so GameFrame can find it.
Keep the workspace clean
We'll be moving between lots of files, including files with the same name in different folders (like the two __init__.py files). To avoid working in the wrong file, close each file when you've finished with it.
Run MainController.py again. Nothing should change, because we haven't put the Title in the Room yet. We're just checking there are no errors so far.
Add the Title to the WelcomeScreen
Now we can put the Title RoomObject into the WelcomeScreen Room. Go back to Rooms/WelcomeScreen.py and add the highlighted code below.
Code explanation
- line 2 → imports the
Titleclass so this Room can use it. - line 15 → creates a new
Titleobject atx = 240andy = 200, passingselfso it knows it belongs to this Room, then adds it to the Room withadd_room_object.
Pygame screen coordinates
Pygame coordinates start at (0, 0) in the top-left corner and increase as we move right and down. On our screen, the bottom-right corner is (1279, 799).
PRIMM
- Predict where the title will appear on the screen.
- Run MainController.py.
- Investigate: change
240and200to other values and run it again. How do they move the title? Change them back when you're done.
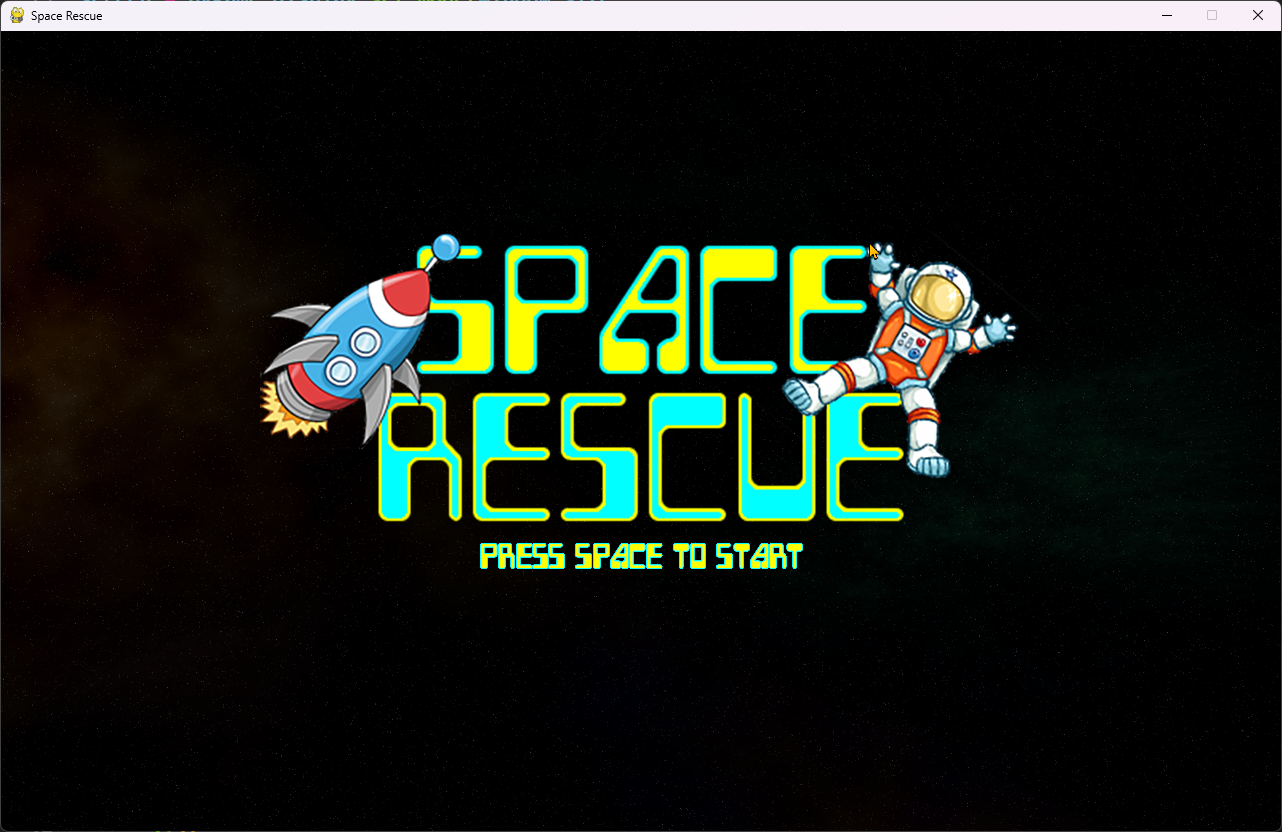
Our screen should look like this:
Commit and push
We've finished and tested a section of code, so let's make a commit. Each commit is a roll-back point: if we break our code later, we can always go back to a version that worked.
- In GitHub Desktop, type Created WelcomeScreen in the Summary box in the bottom left.
- Click Commit to main.
- Click Push origin.
Our work from this lesson is now saved and synced with GitHub.