Welcome Page
In this tutorial we will create a landing page for our web app, so that new users (who do not have an account) can see what the app is about.
Plan
To achieve this we need to:
format our WelcomeComponent as our landing page
This is all pretty straight forward. So lets get to it.
Layout
Main card
We need to setup the WelcomeComponent.
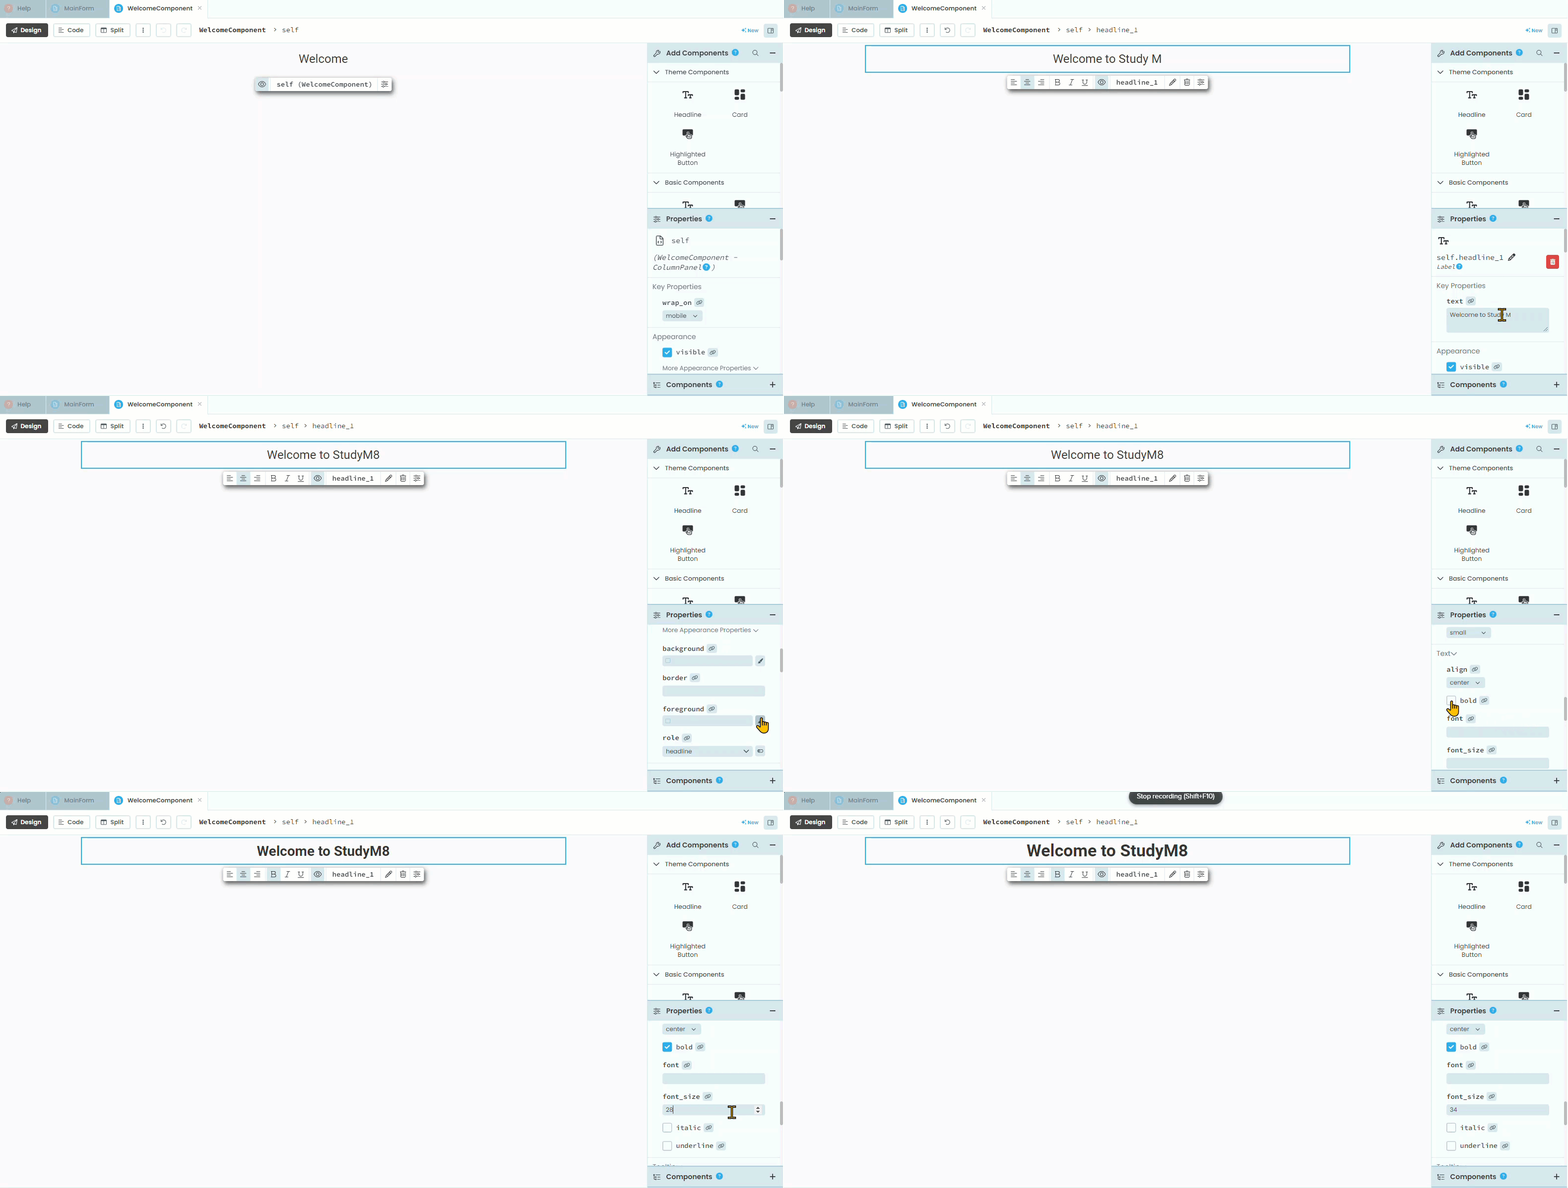
Open the WelcomeComponent in Design mode.
Change the title to Welcome to StudyM8.
Change the title’s font to bold.
Make the title bigger. I chose 34, but you can choose whatever you want.
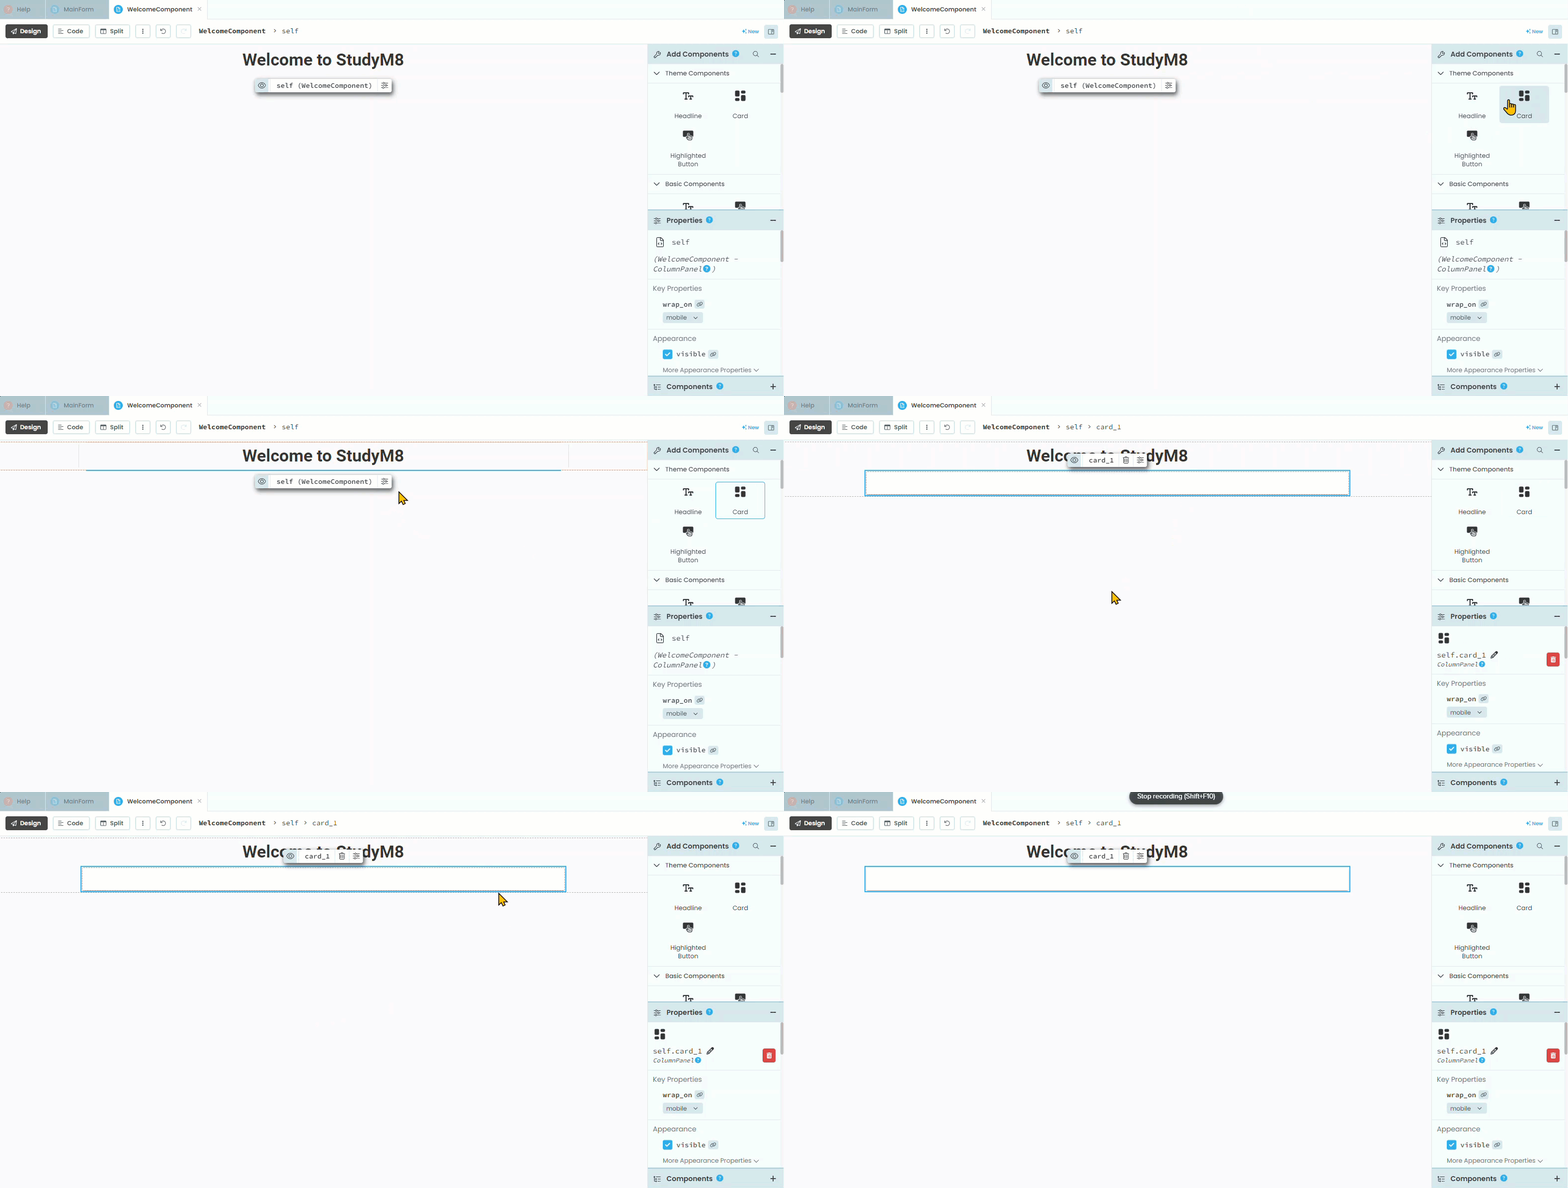
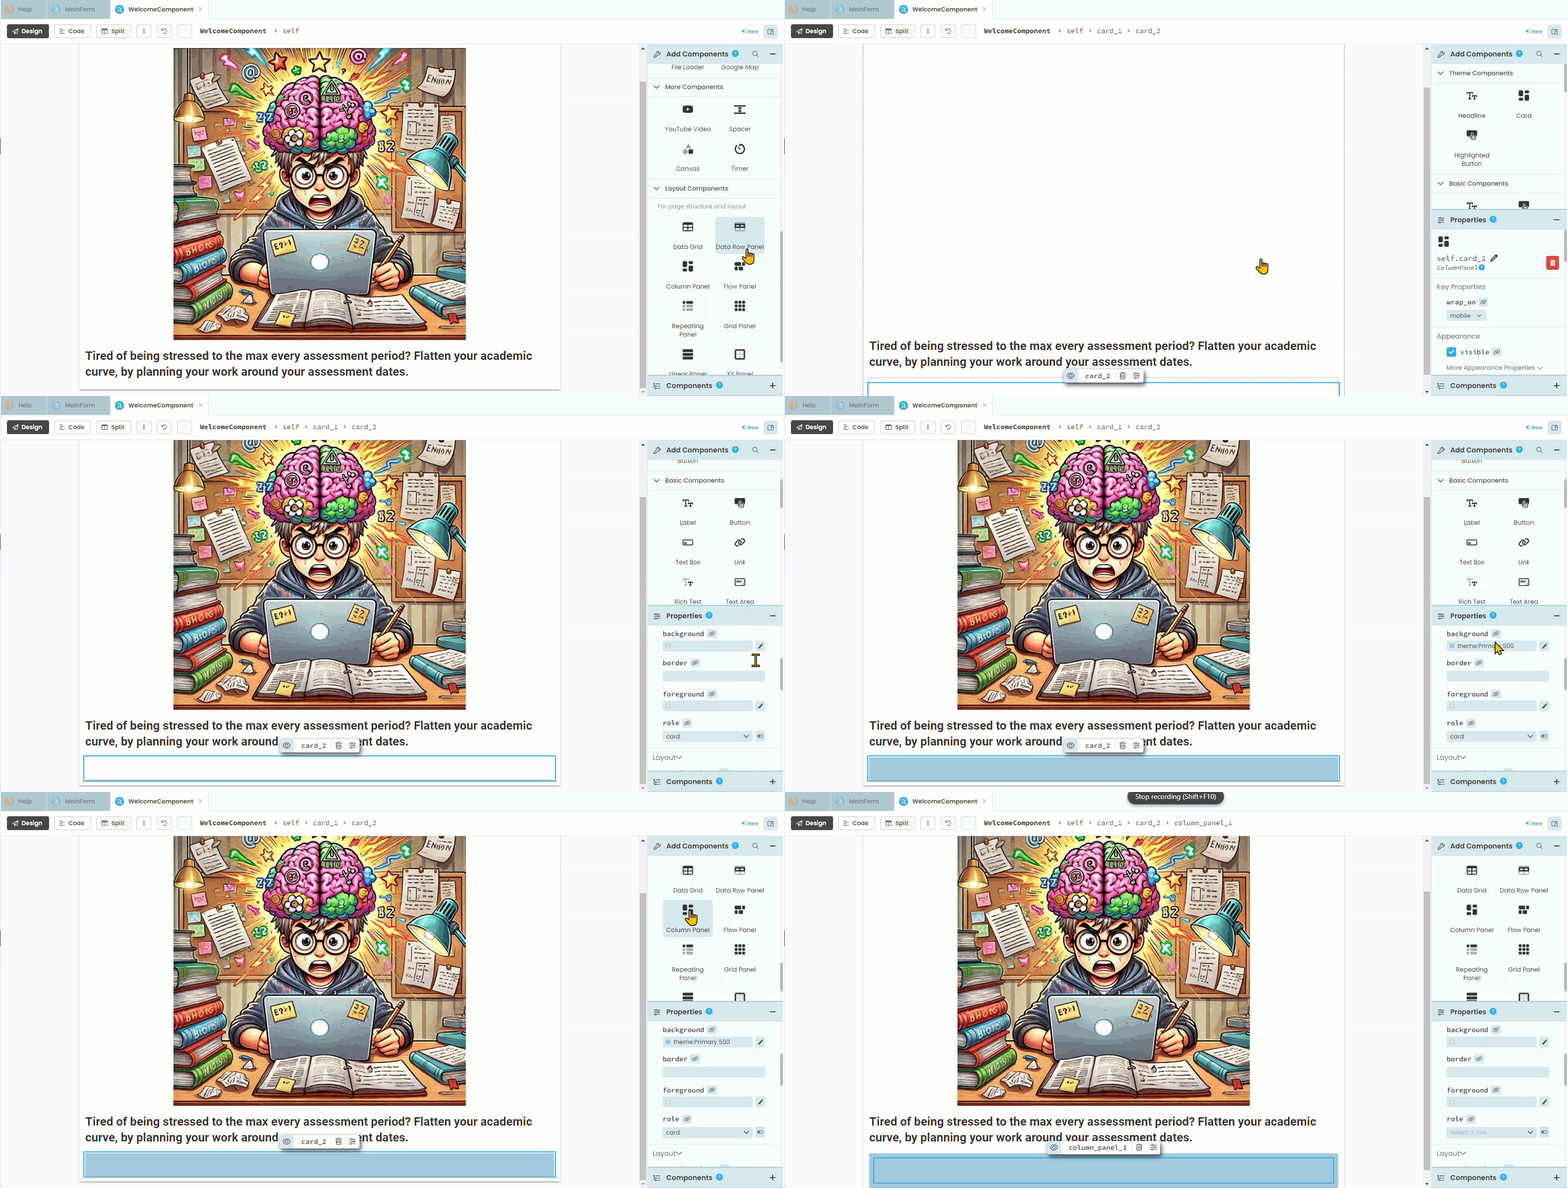
Next we need to add a Card (Outline Card)
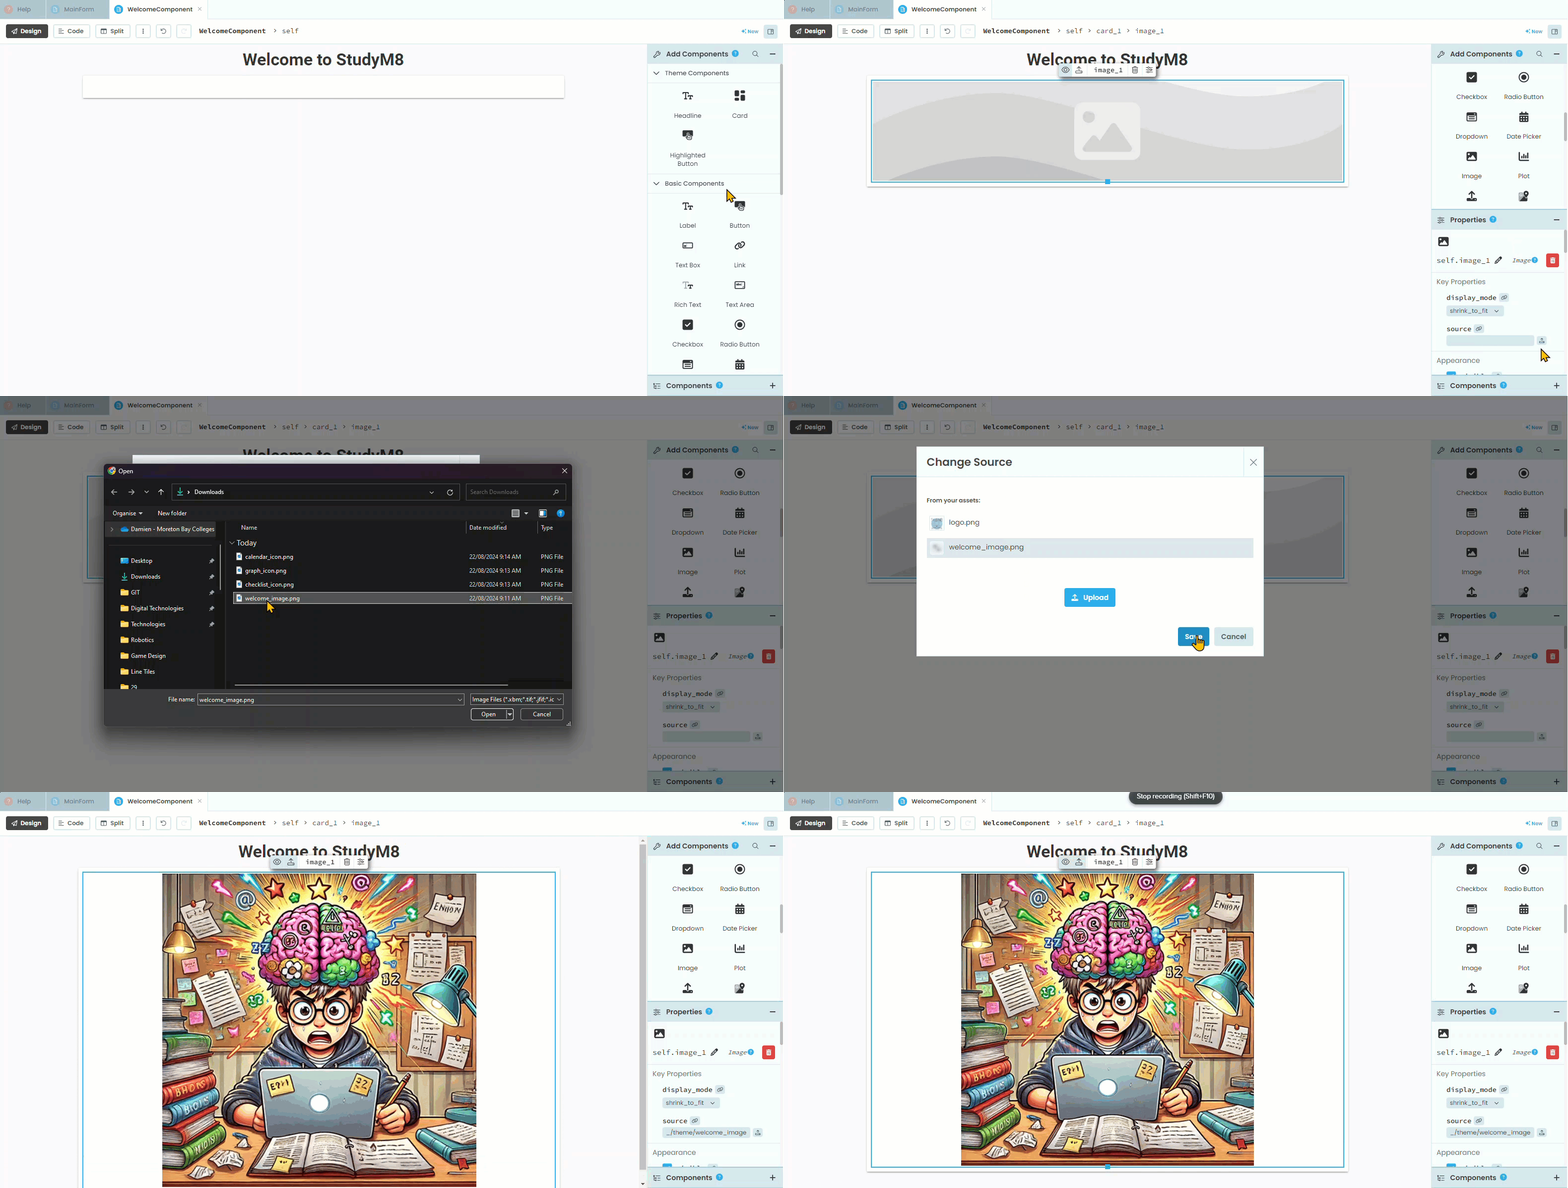
Now we will add an image to the welcome page
Right mouse click and save the image below.

Find the Image element and add it to the card.
In the Properties look for source and click the upload button to the right of the text box.
Select the welcome_image.png you just downloaded.
Use the handles to resize the image to your desired size.
Next we want to add a the following text:
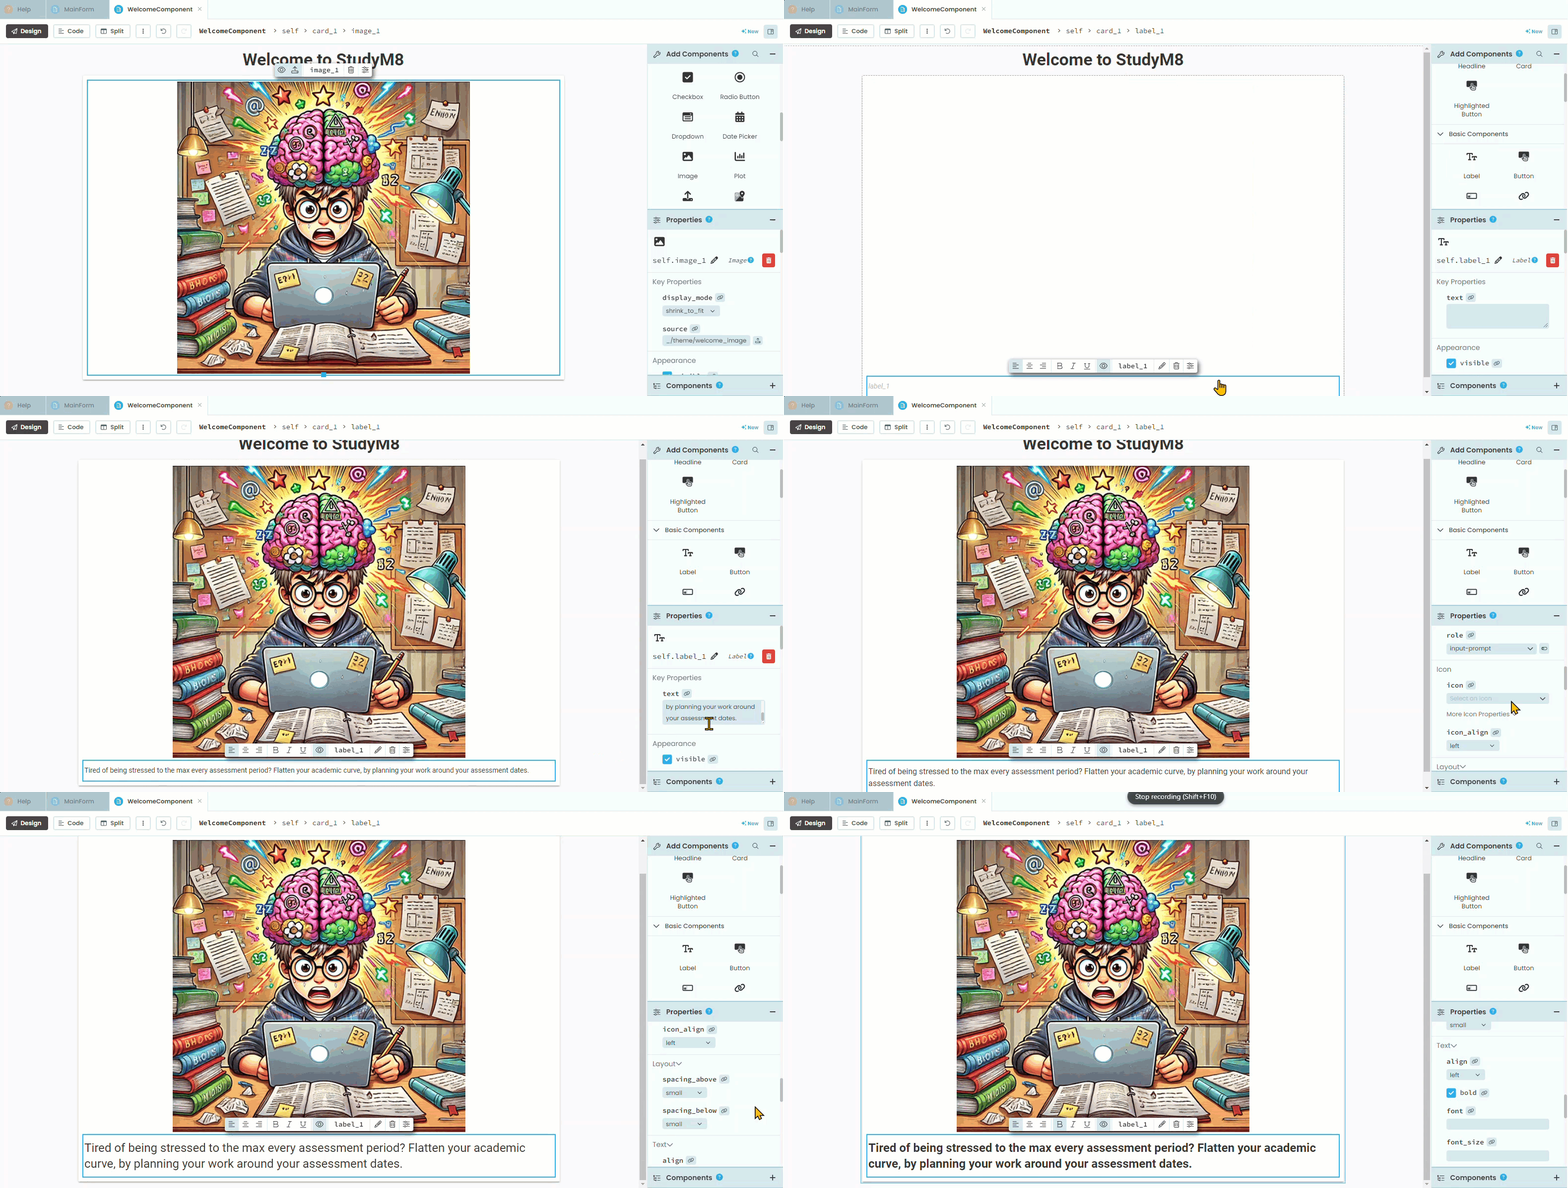
Tired of being stressed to the max every assessment period? Flatten your academic curve, by planning your work around your assessment dates.
Add a label to the card under the image
Copy the text above and paste it into the text property
Change the text formatting so that you are happy with it.
Features
Now we want advertise the web app features at the bottom of the card
Add another card element under the last label.
Change the new card’s formatting to make it contrast with the background card (I chose to change it’s background colour).
Add a Column Panel to the new card.
First we will add the images. So save the following images to your computer
![]()
![]()
![]()
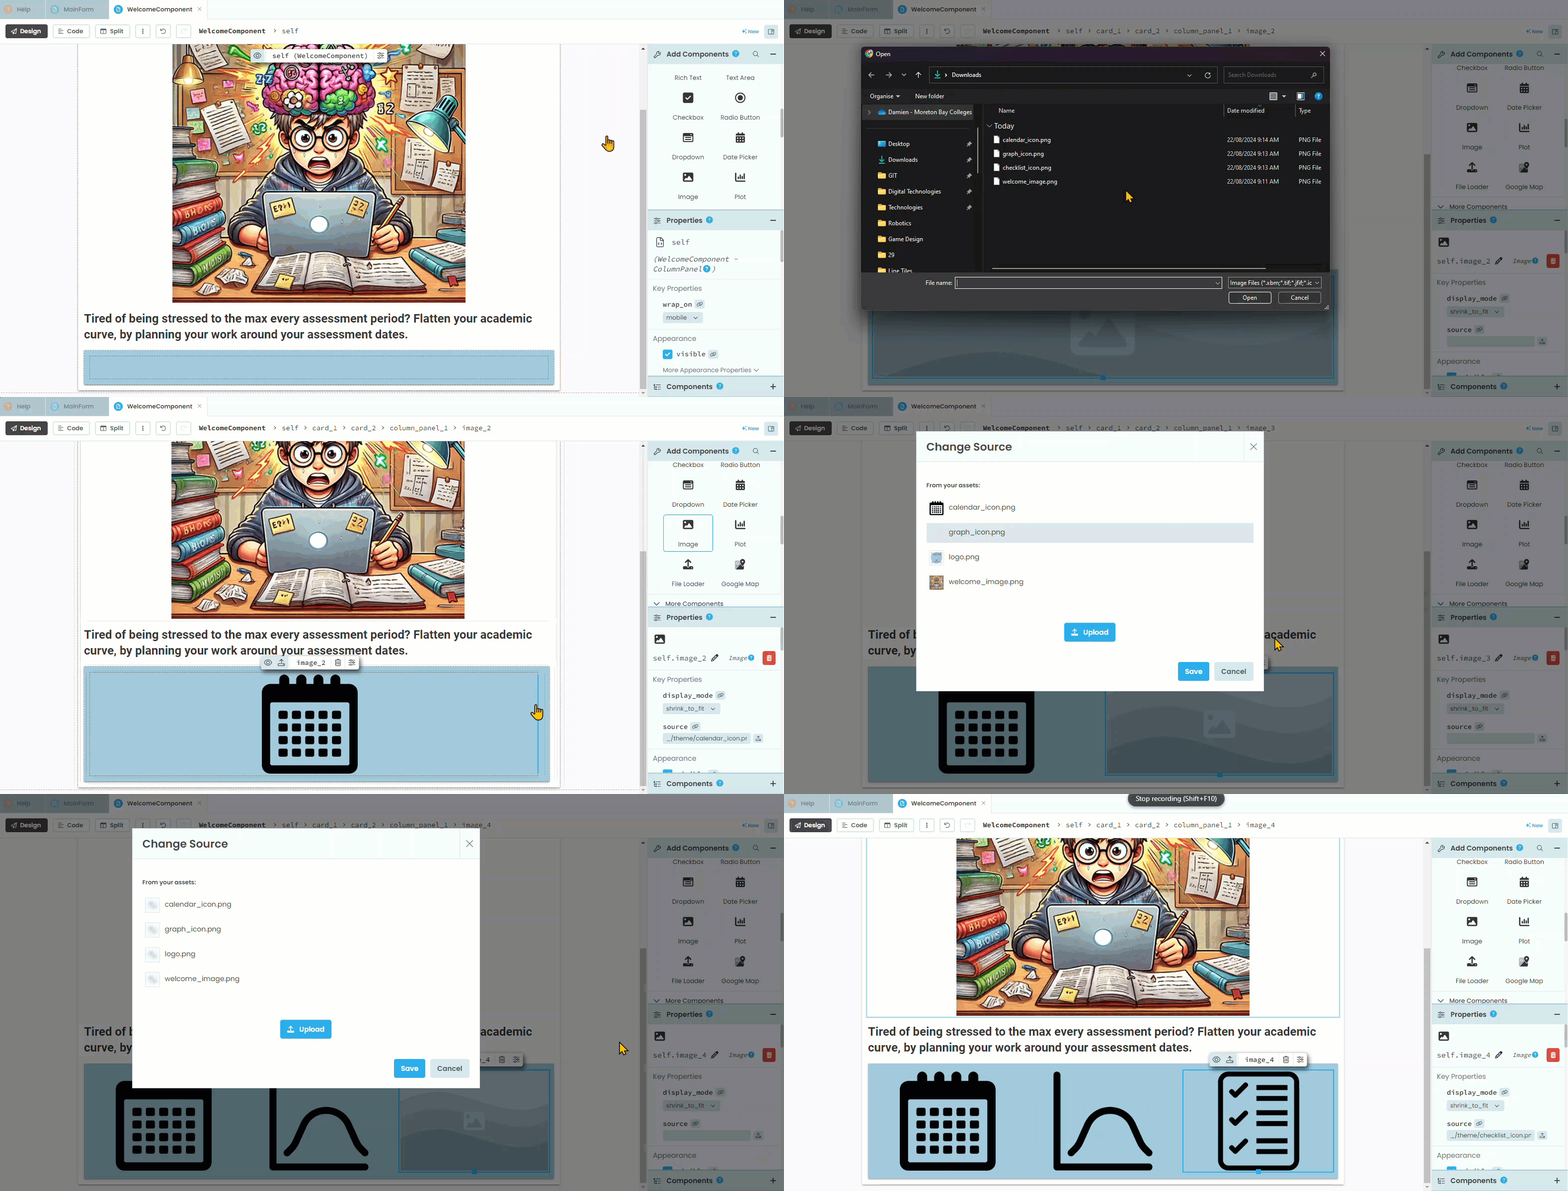
Add a Image element to the column panel
Click on source the upload icon
Select calendar_icon.png
Repeat for the graph_icon.png and the checklist_icon.png
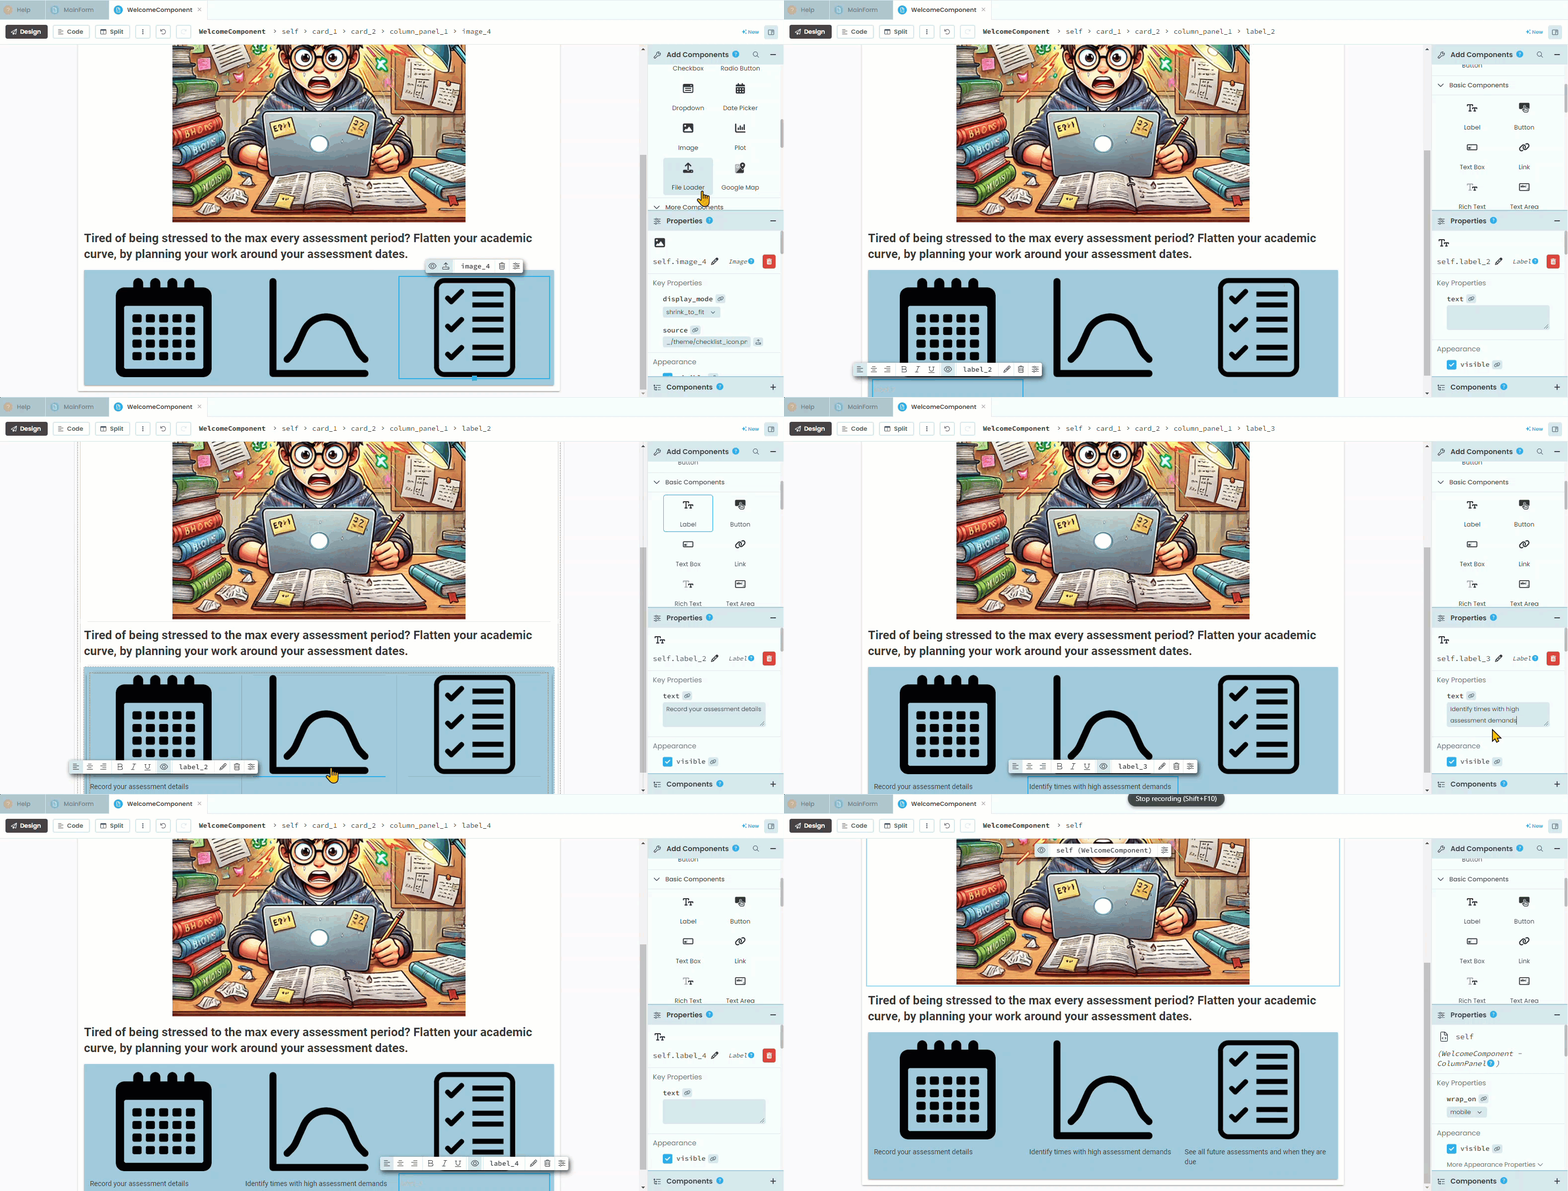
Next we need to add text below each image.
Add a label below the calendar icon
Paste the following text into the text property
Record your assessment details
Add a label below the graph icon
Paste the following text into the text property
Identify times with high assessment demands
Add a label below the checklist icon
Paste the following text into the text property
See all future assessments and when they are due
Call to action
Finally we want to put a call-to-action at the bottom.
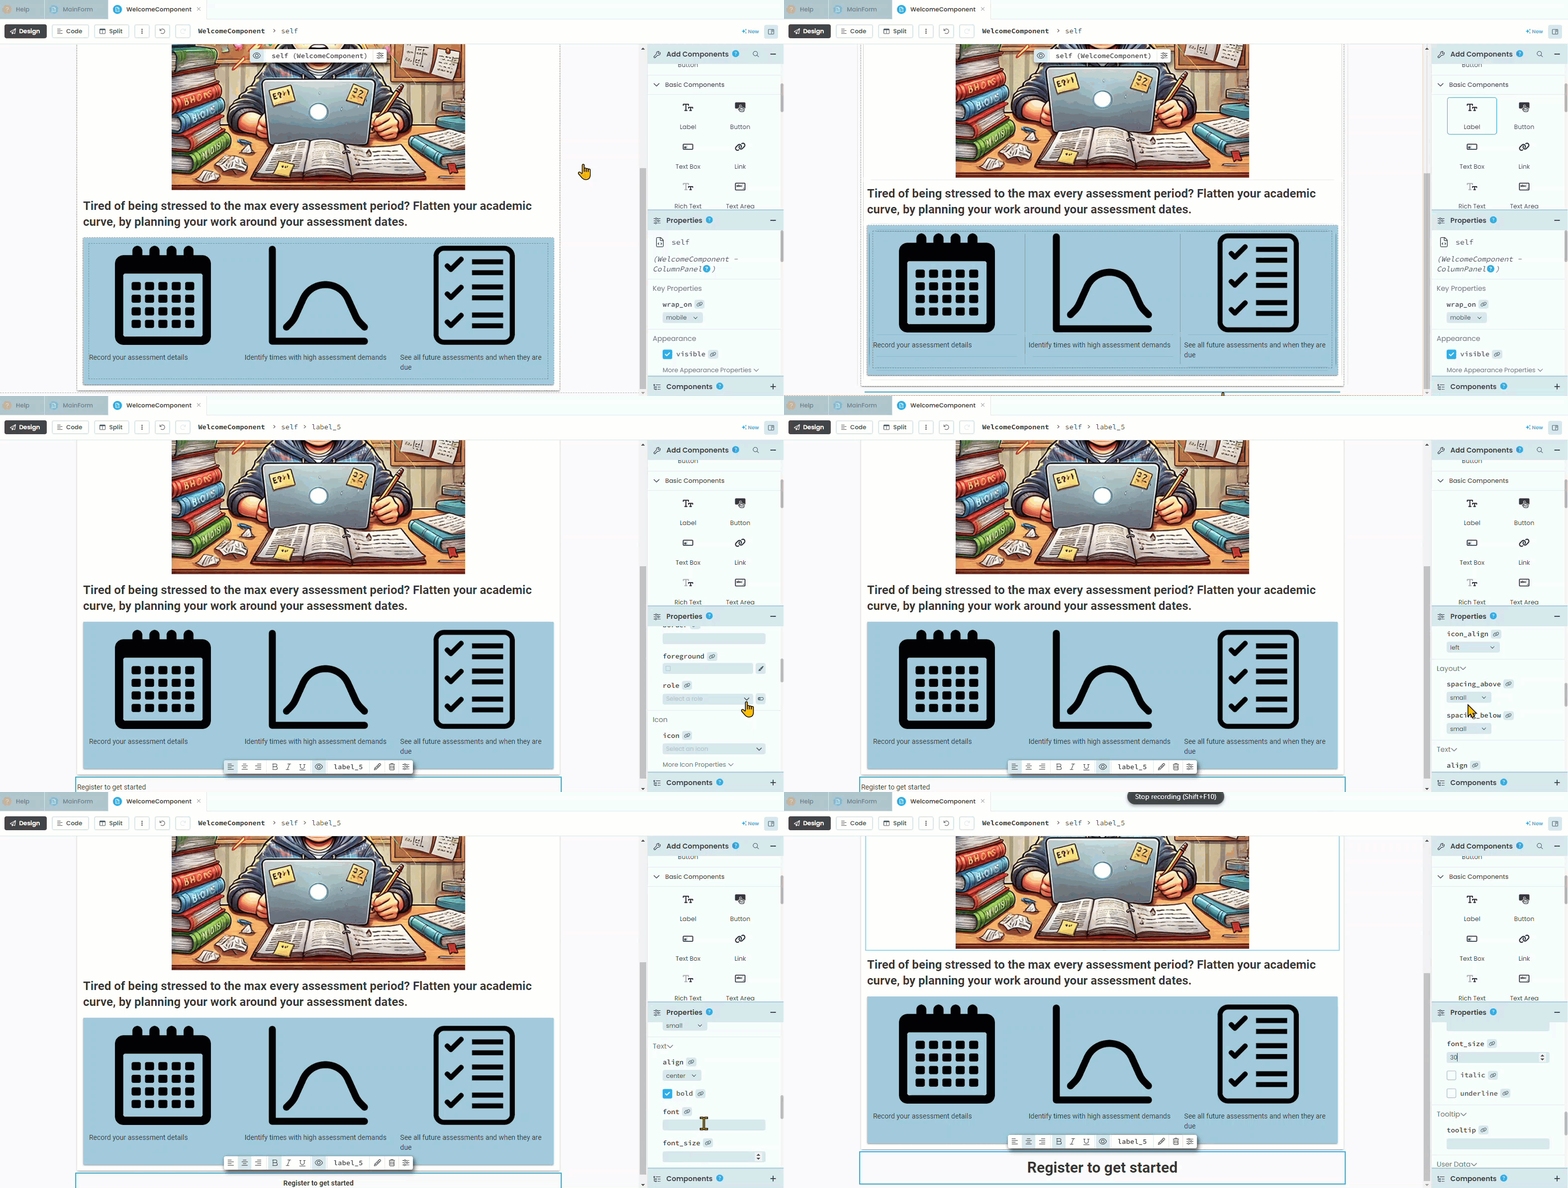
Add a label at the bottom under all the cards
Add the text below to the label
Register to get started
Centre the text
Change the font_size
Testing
Launch your website, and logout. You should now see the Welcome Page.