HomeComponent Design
Now we can turn to the HomeComponent. This component lists all the current assessments and their respective details. Lets plan this out
Planning
This is where we start to get tricky. Remember this web app is dynamic, that means how it looks is dependent on the stored data. In the case, the number of rows in our HomeComponent is dependent on the number of relevant assessments stored in our Assessments table.
There are two things we need to achieve this:
We need to retrieve a list of assessments data items from the Assessments table.
We need a layout element that will display the rows from that list.
To retrieve the list we will create a new function called get_assessments in the assessment_service module.
To display the list we will use a layout element called a Repeating Panel. Repeating Panels display a list of items in a repeated pattern. When it is connected to a list of data items, the panel repeats for each data item. It is probably easier to understand in practice, so let’s get started.
Layout
Add repeating panel
Open the HomeComponent in the Design mode.
First step:
add the
fa:homeicon to the titleadd a card under the title
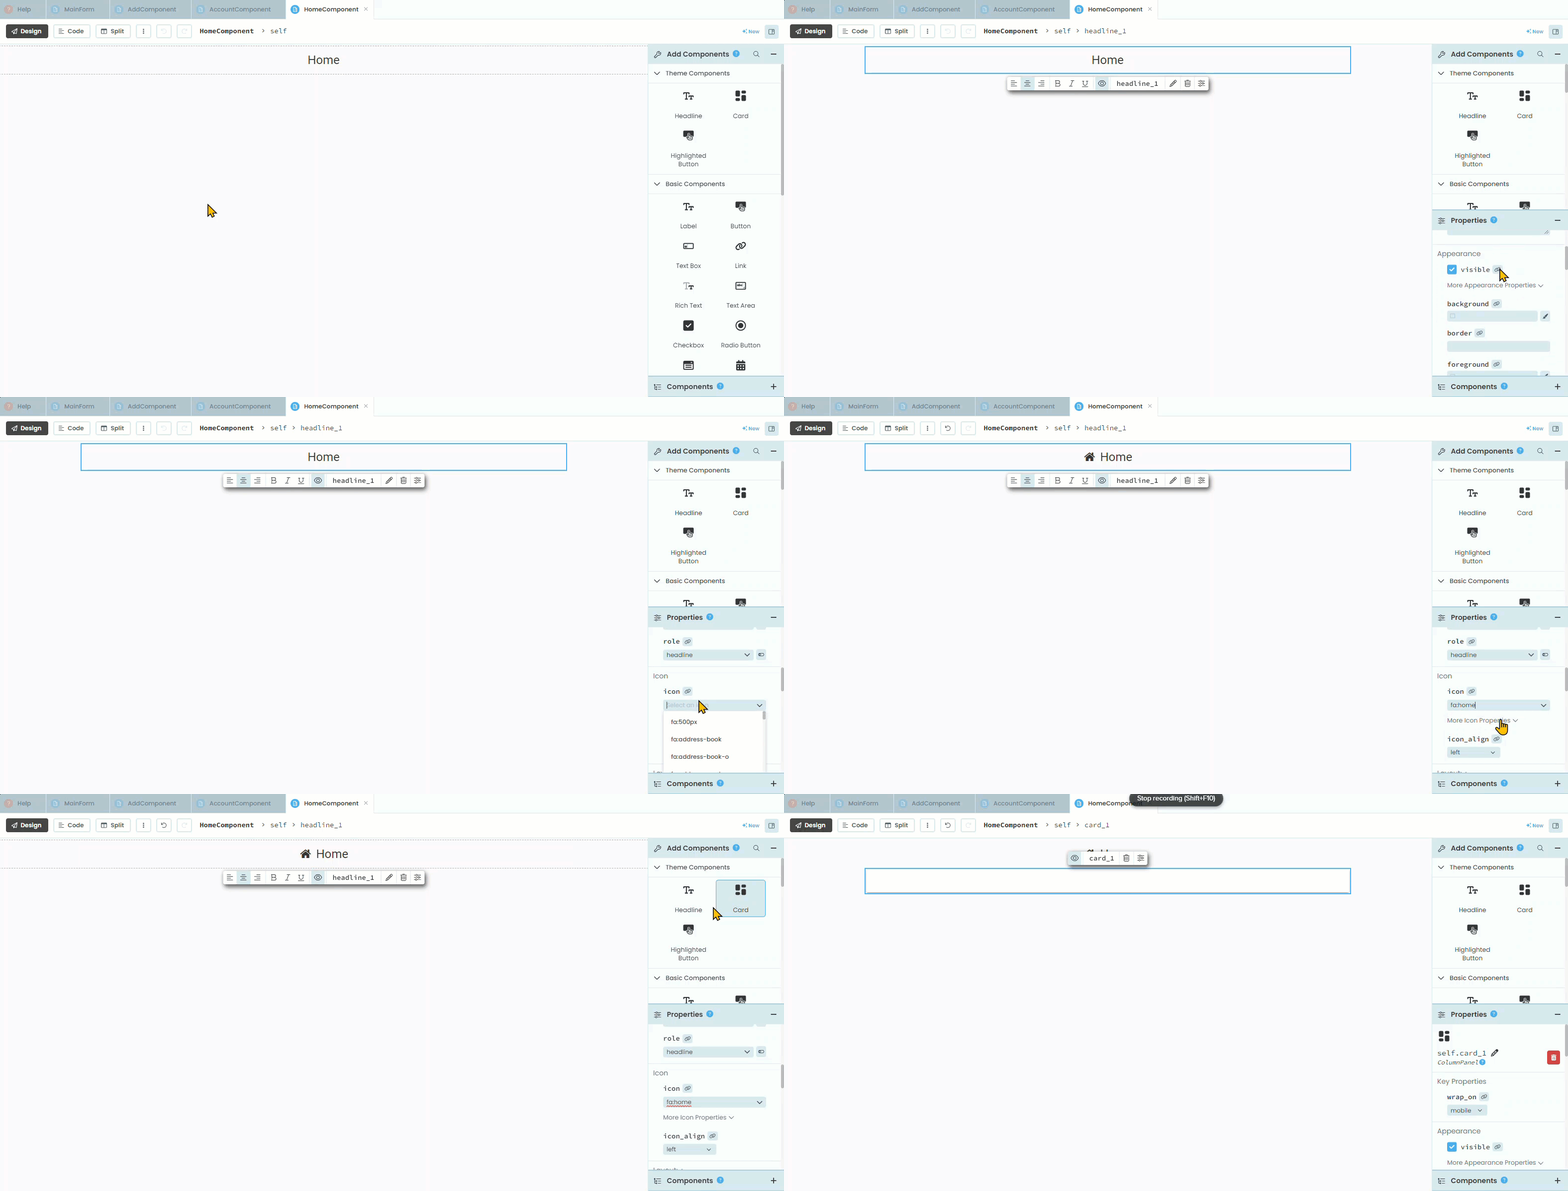
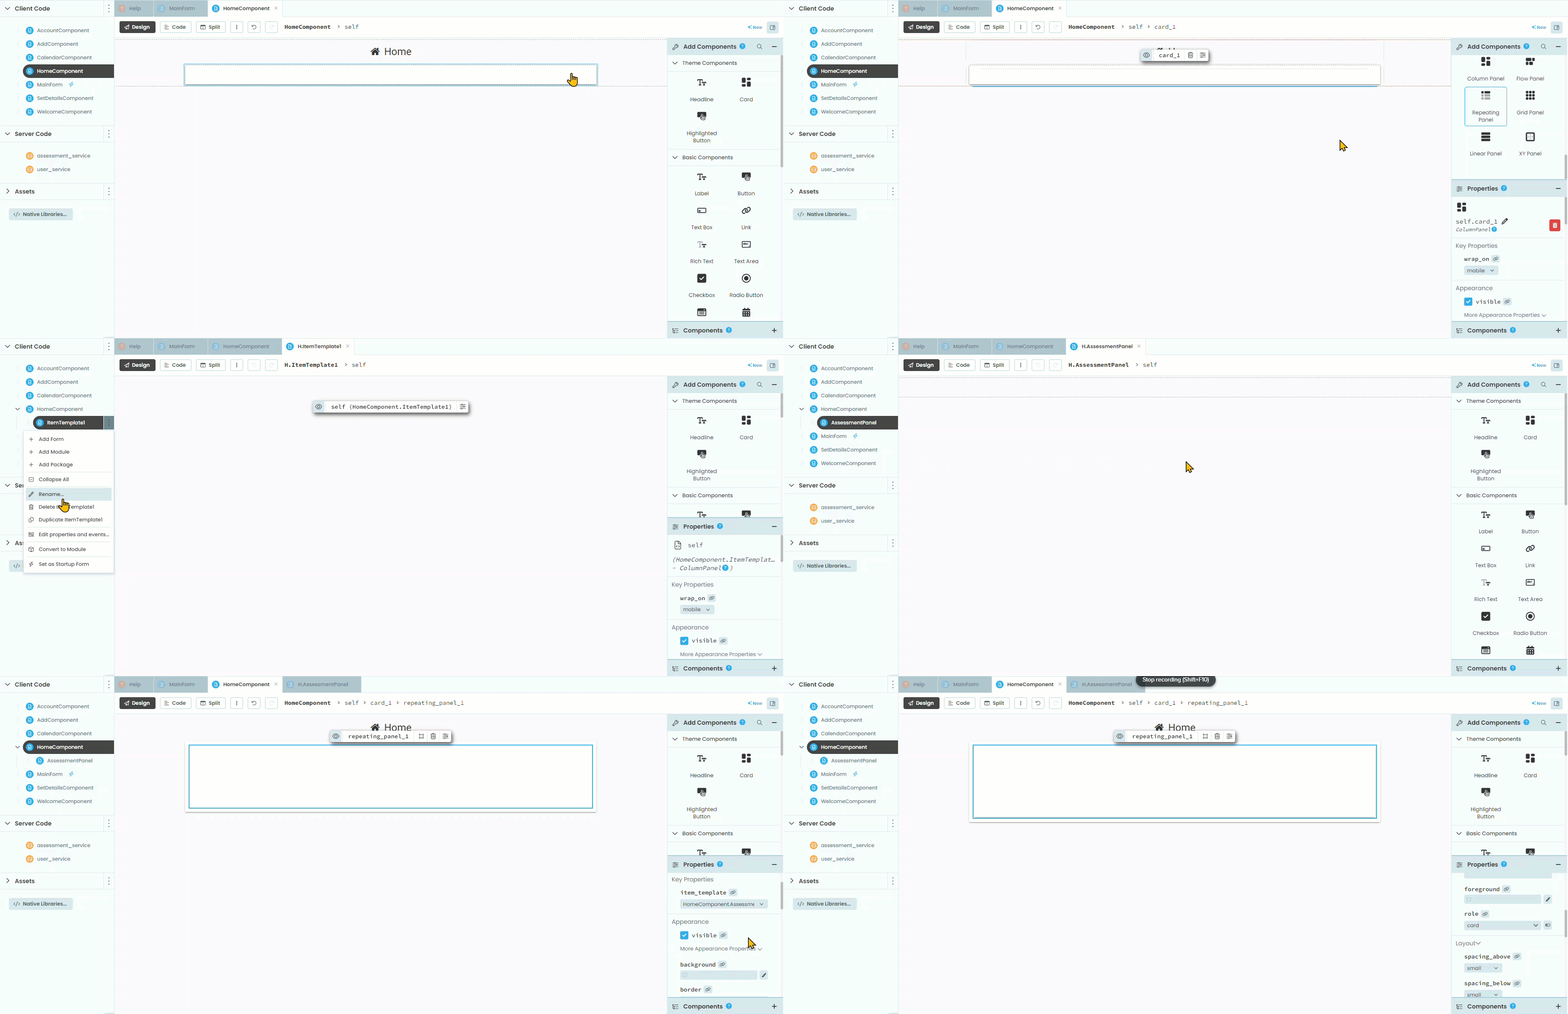
Next you need to:
find and click on Repeating Panel in the Layout Components
place it in the layout by clicking on the card (check the blue line)
Anvil will automatically open the repeating panel, rename it AssessmentPanel
return to the HomeComponent click on repeating_panel_1 and change it’s role to card
Repeating panel layout
Now we need to add elements to the AssessmentPanel, so open it in Design mode.
find the Column Panel and add it to the AssessmentPanel
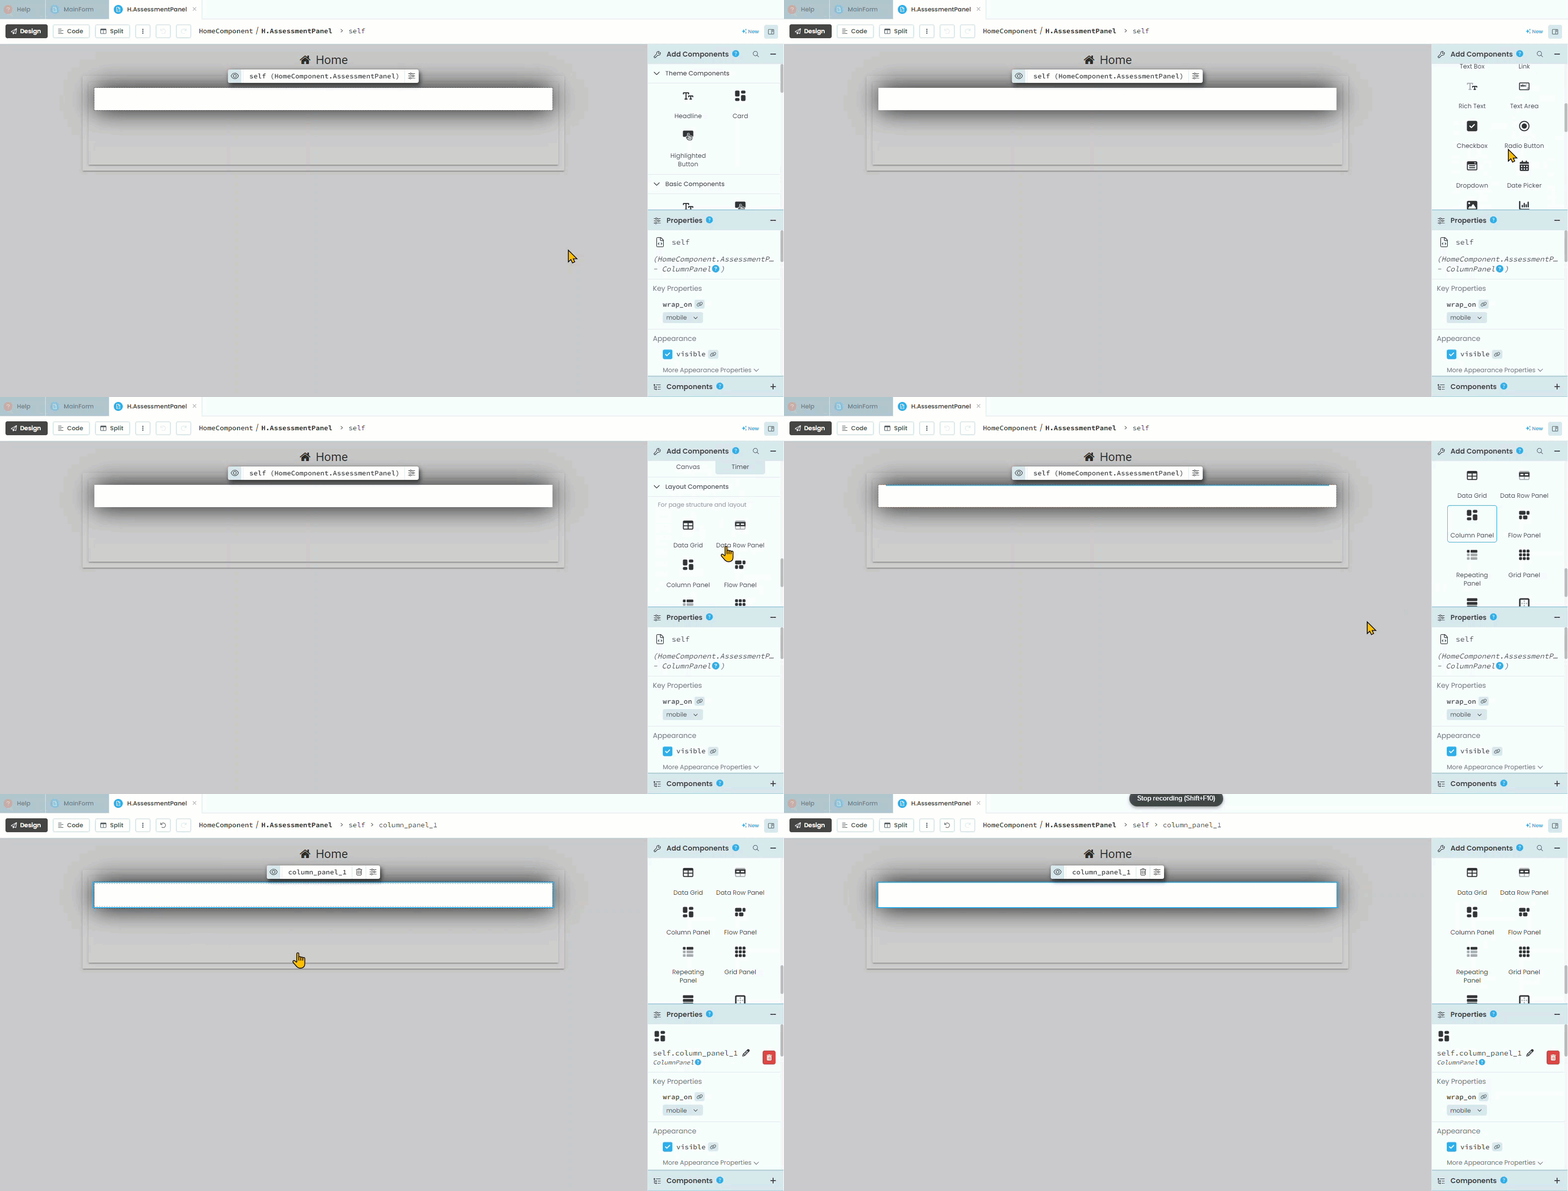
locate the Check Box and add it.
rename the self.check_box_1 to self.check_box_completed
delete text leaving it blank
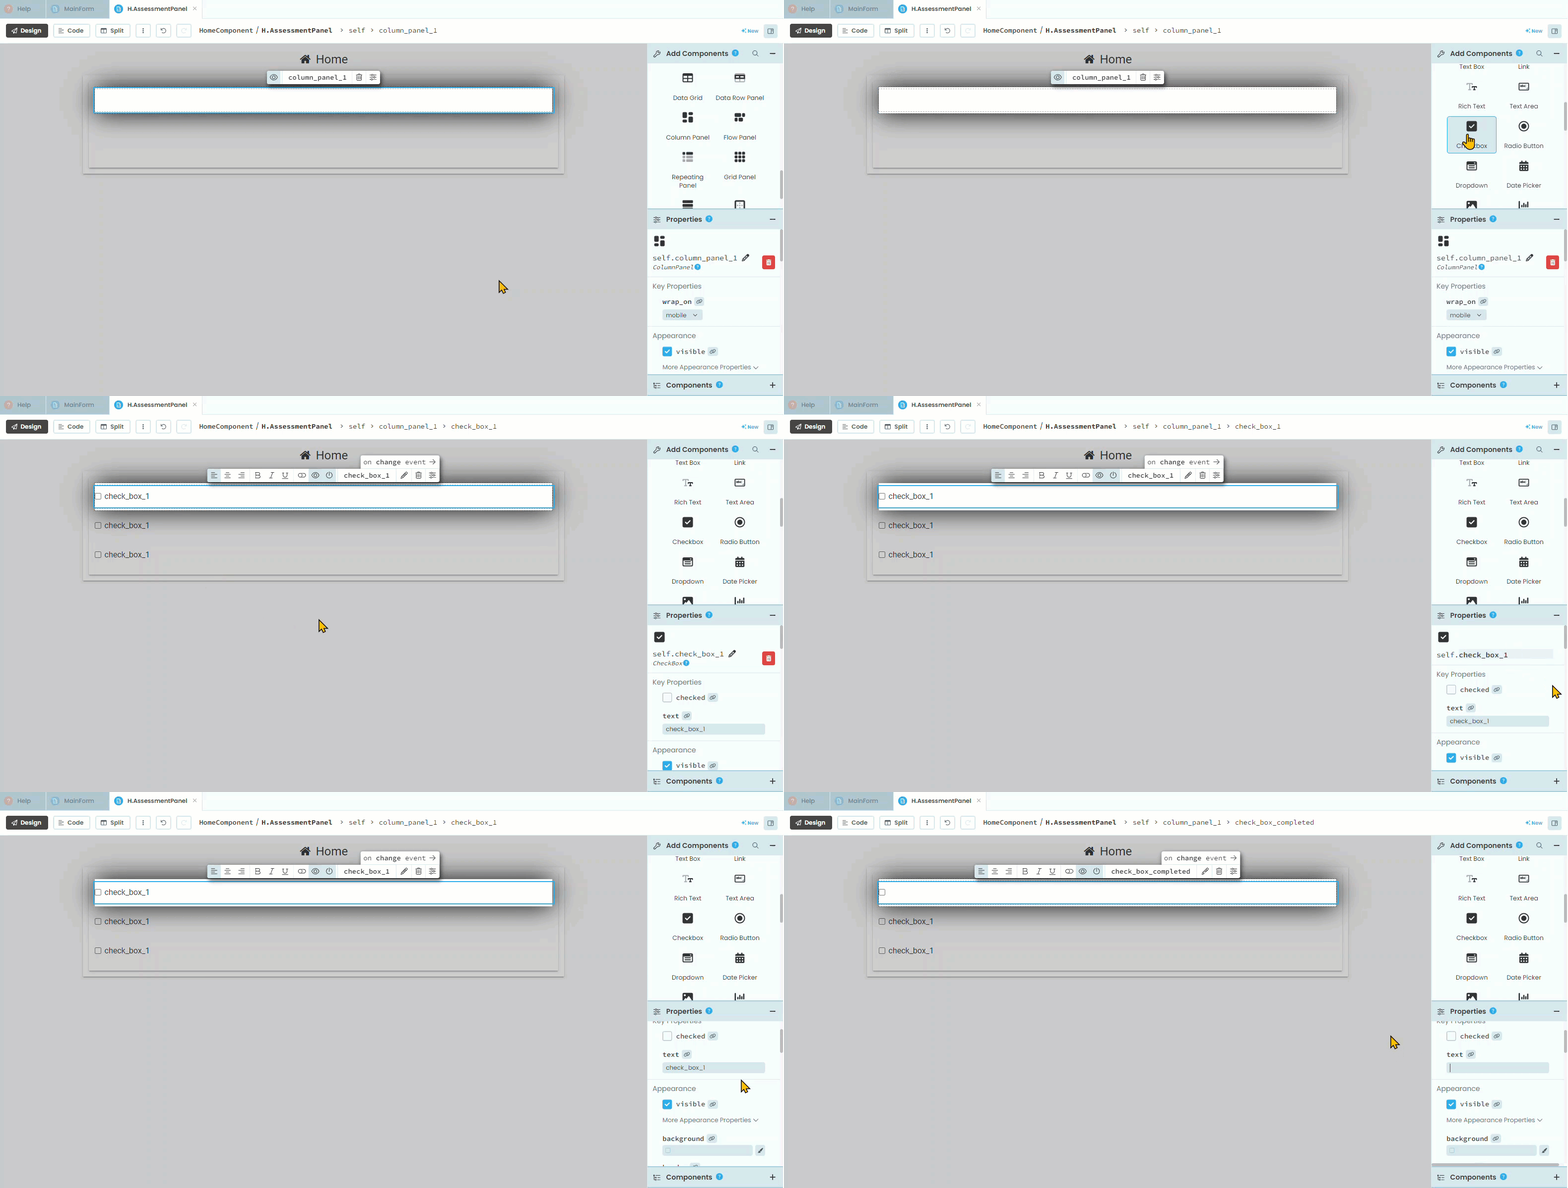
add a label beside the check box (watch the blue line)
rename it as label_subject
change the role to the format you desire
find and check bold
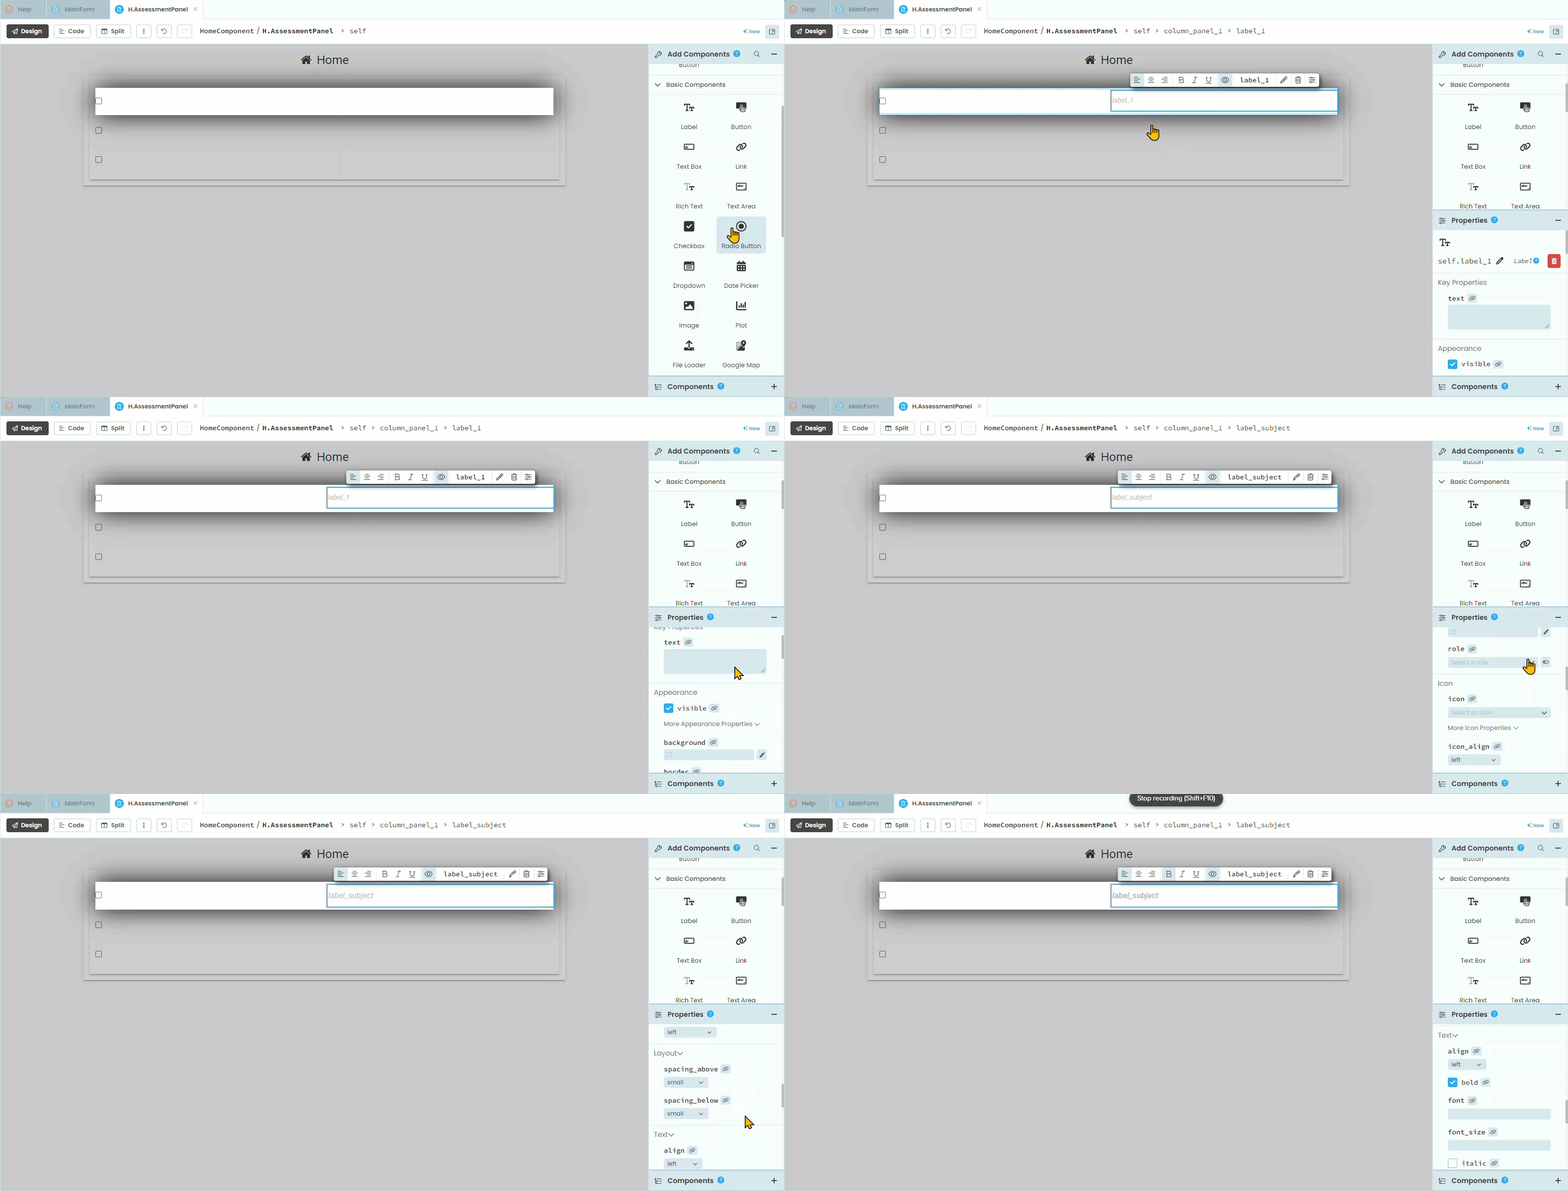
add another label beside the label_subject
rename the new label to label_details
change the role to be the same as label_subject
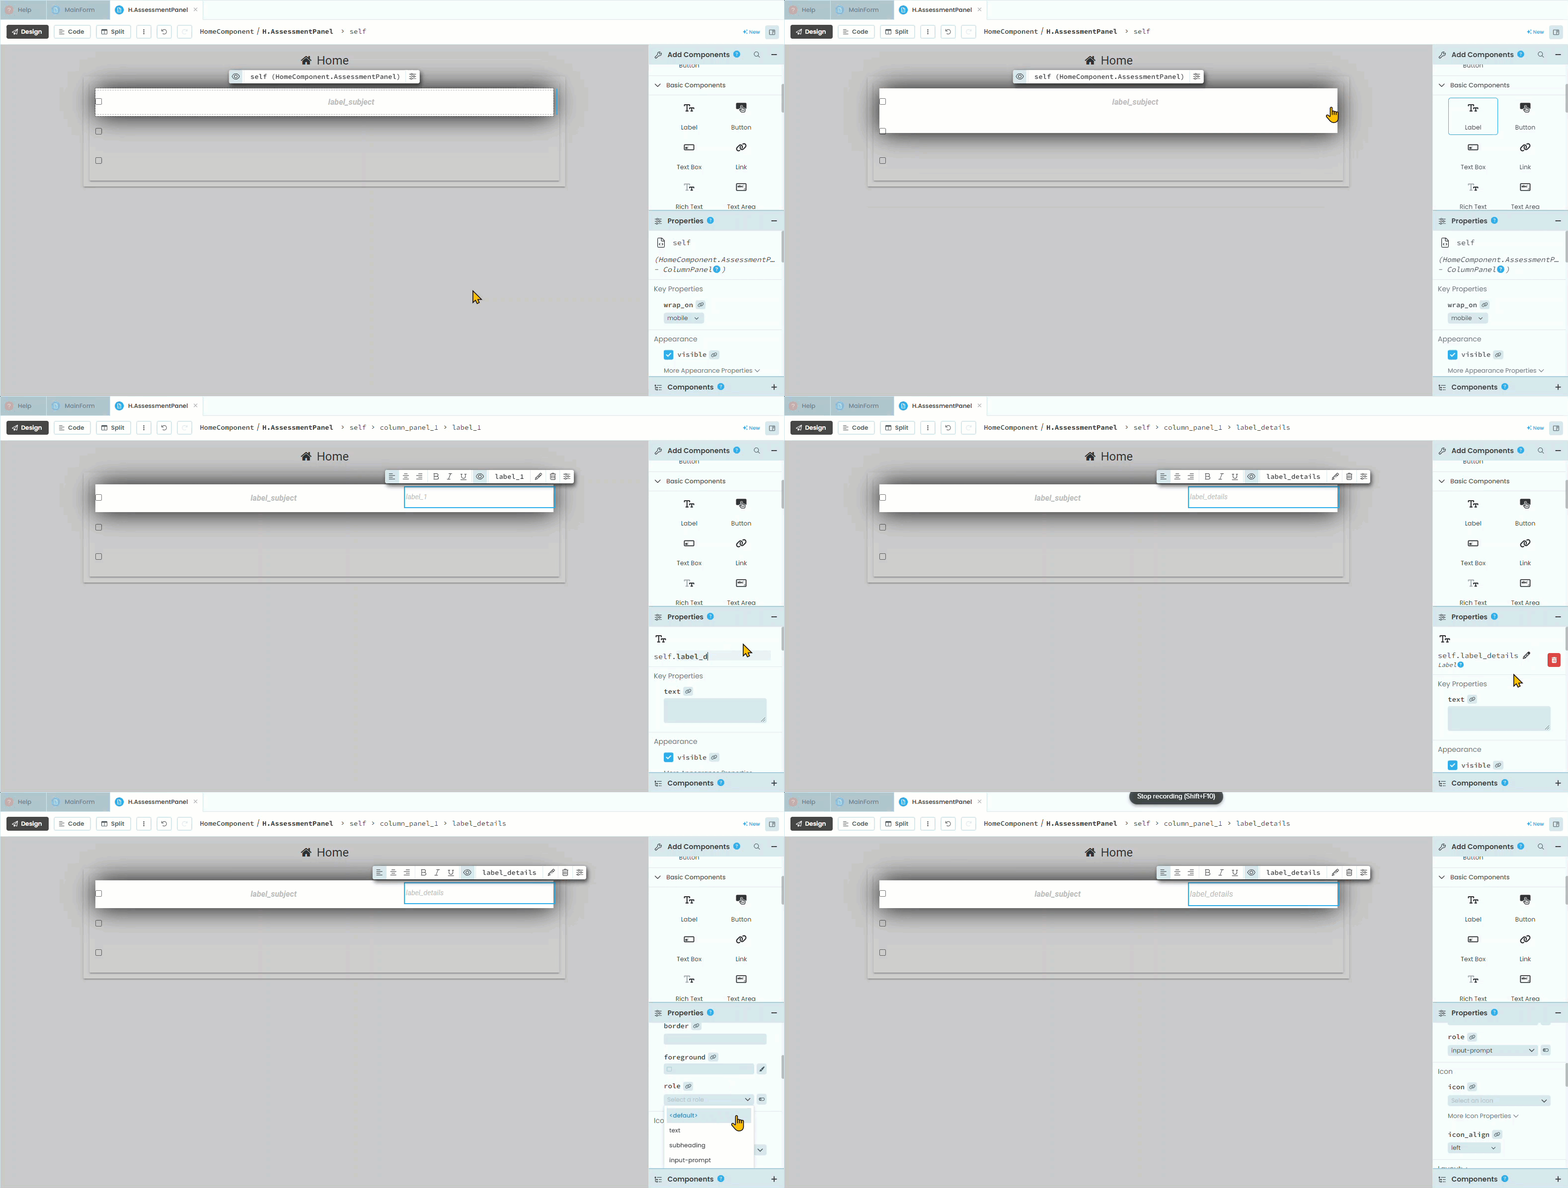
add another label beside label_details
rename it label_start
change the role to be the same as label_subject
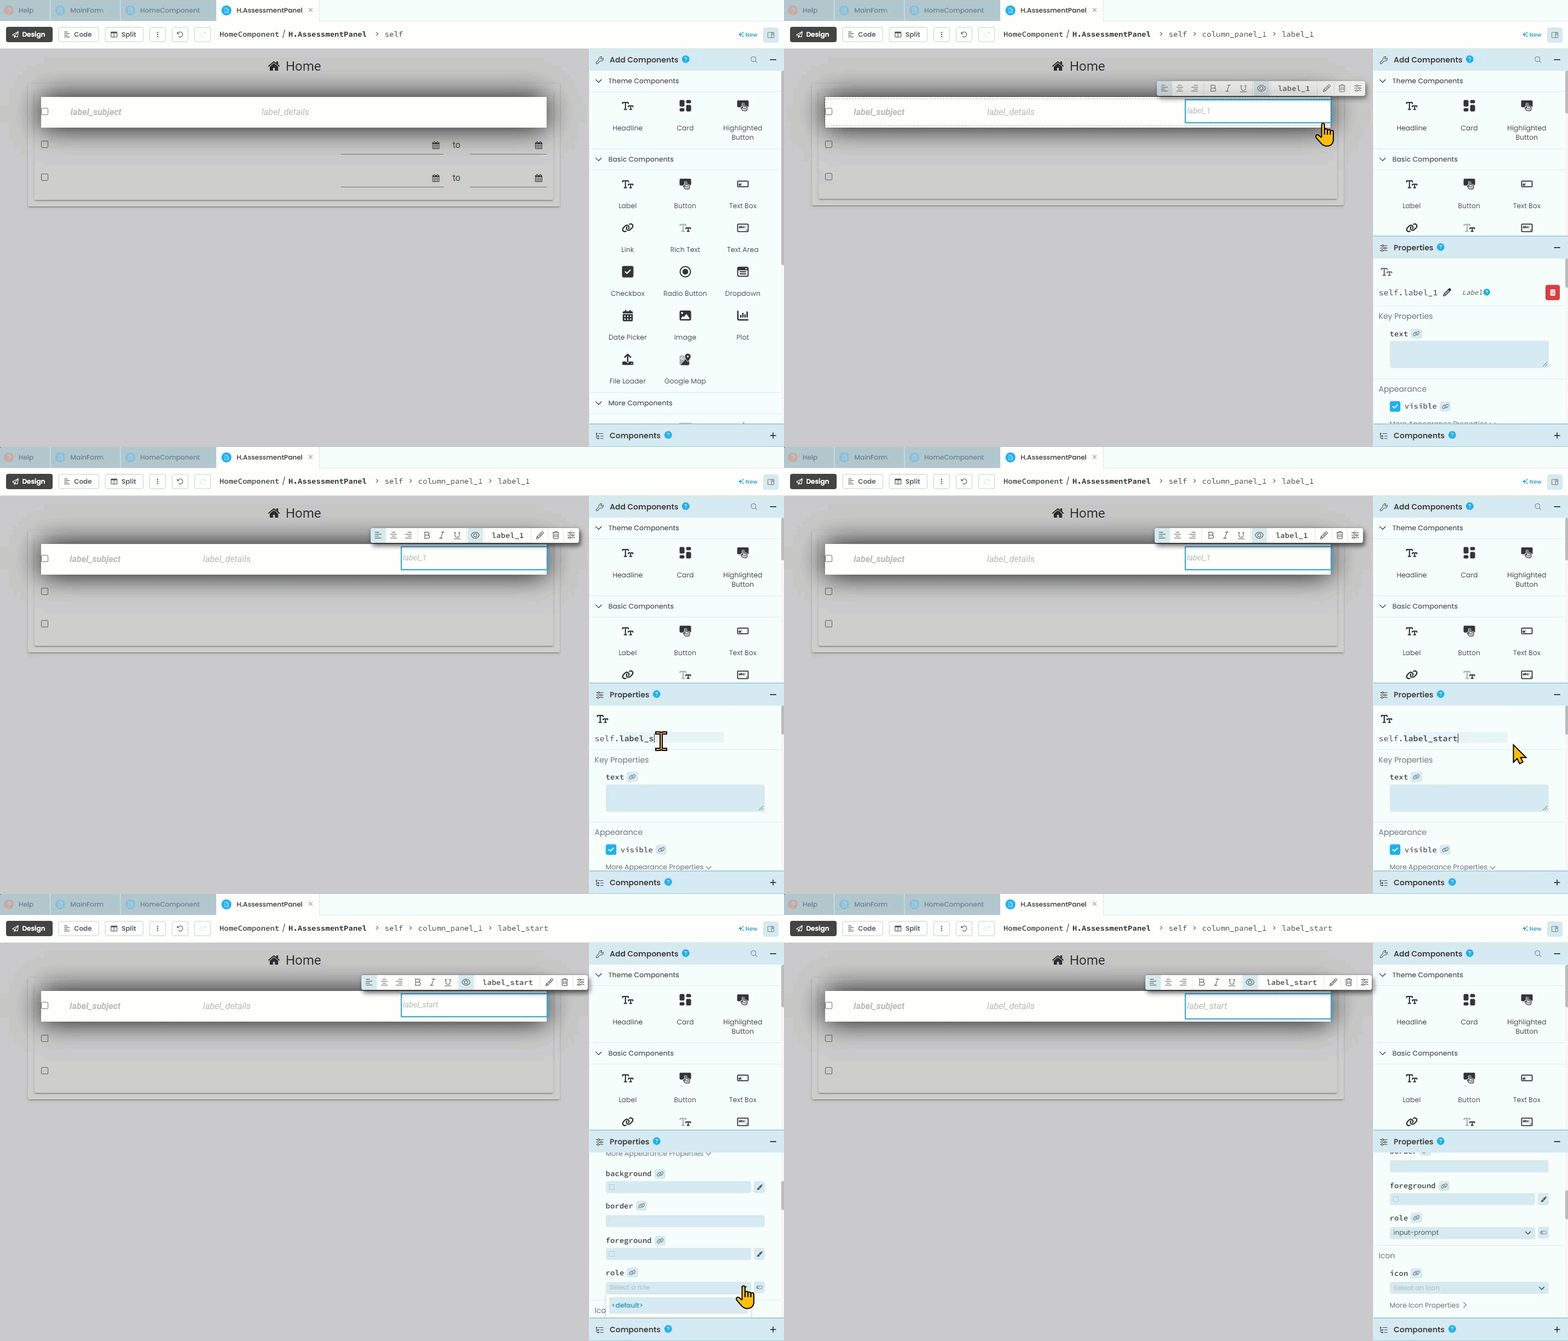
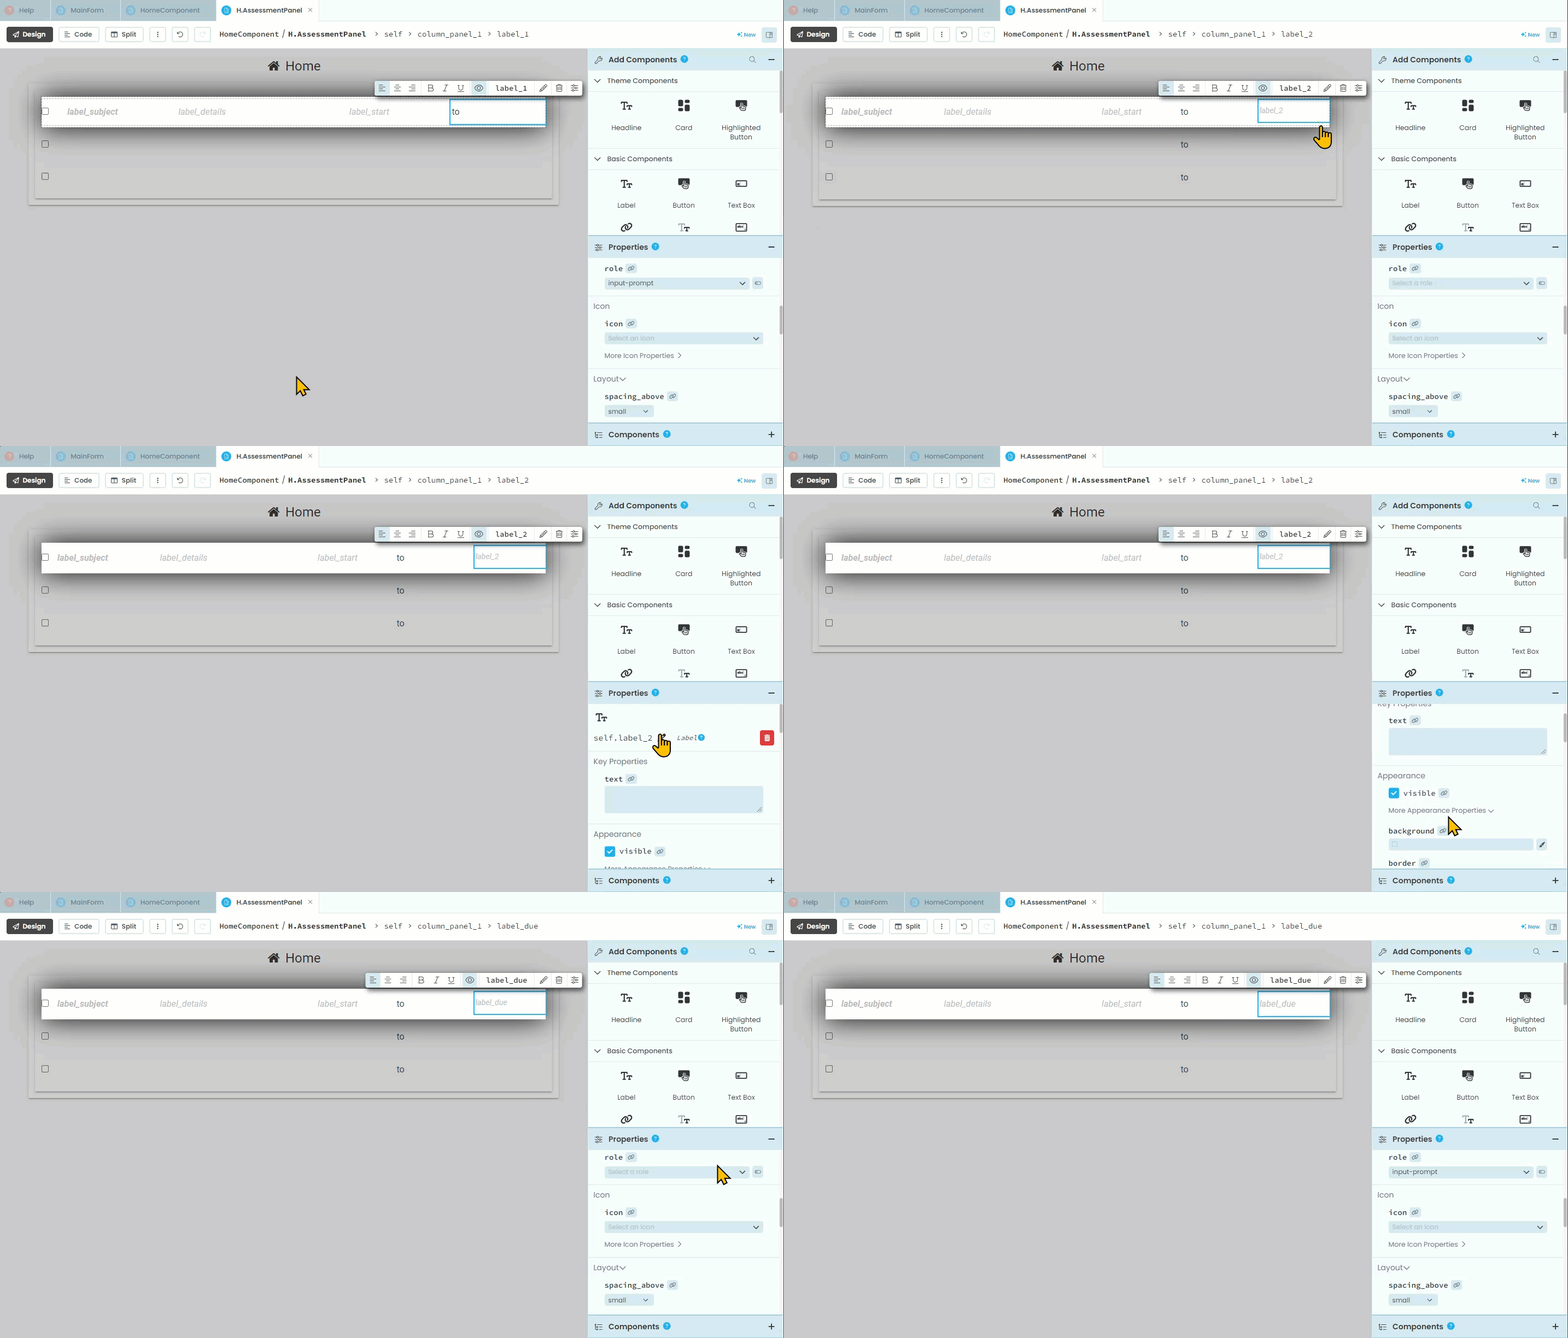
add a label beside date_picker_start
change the text to
tochoose the same role as label_subject
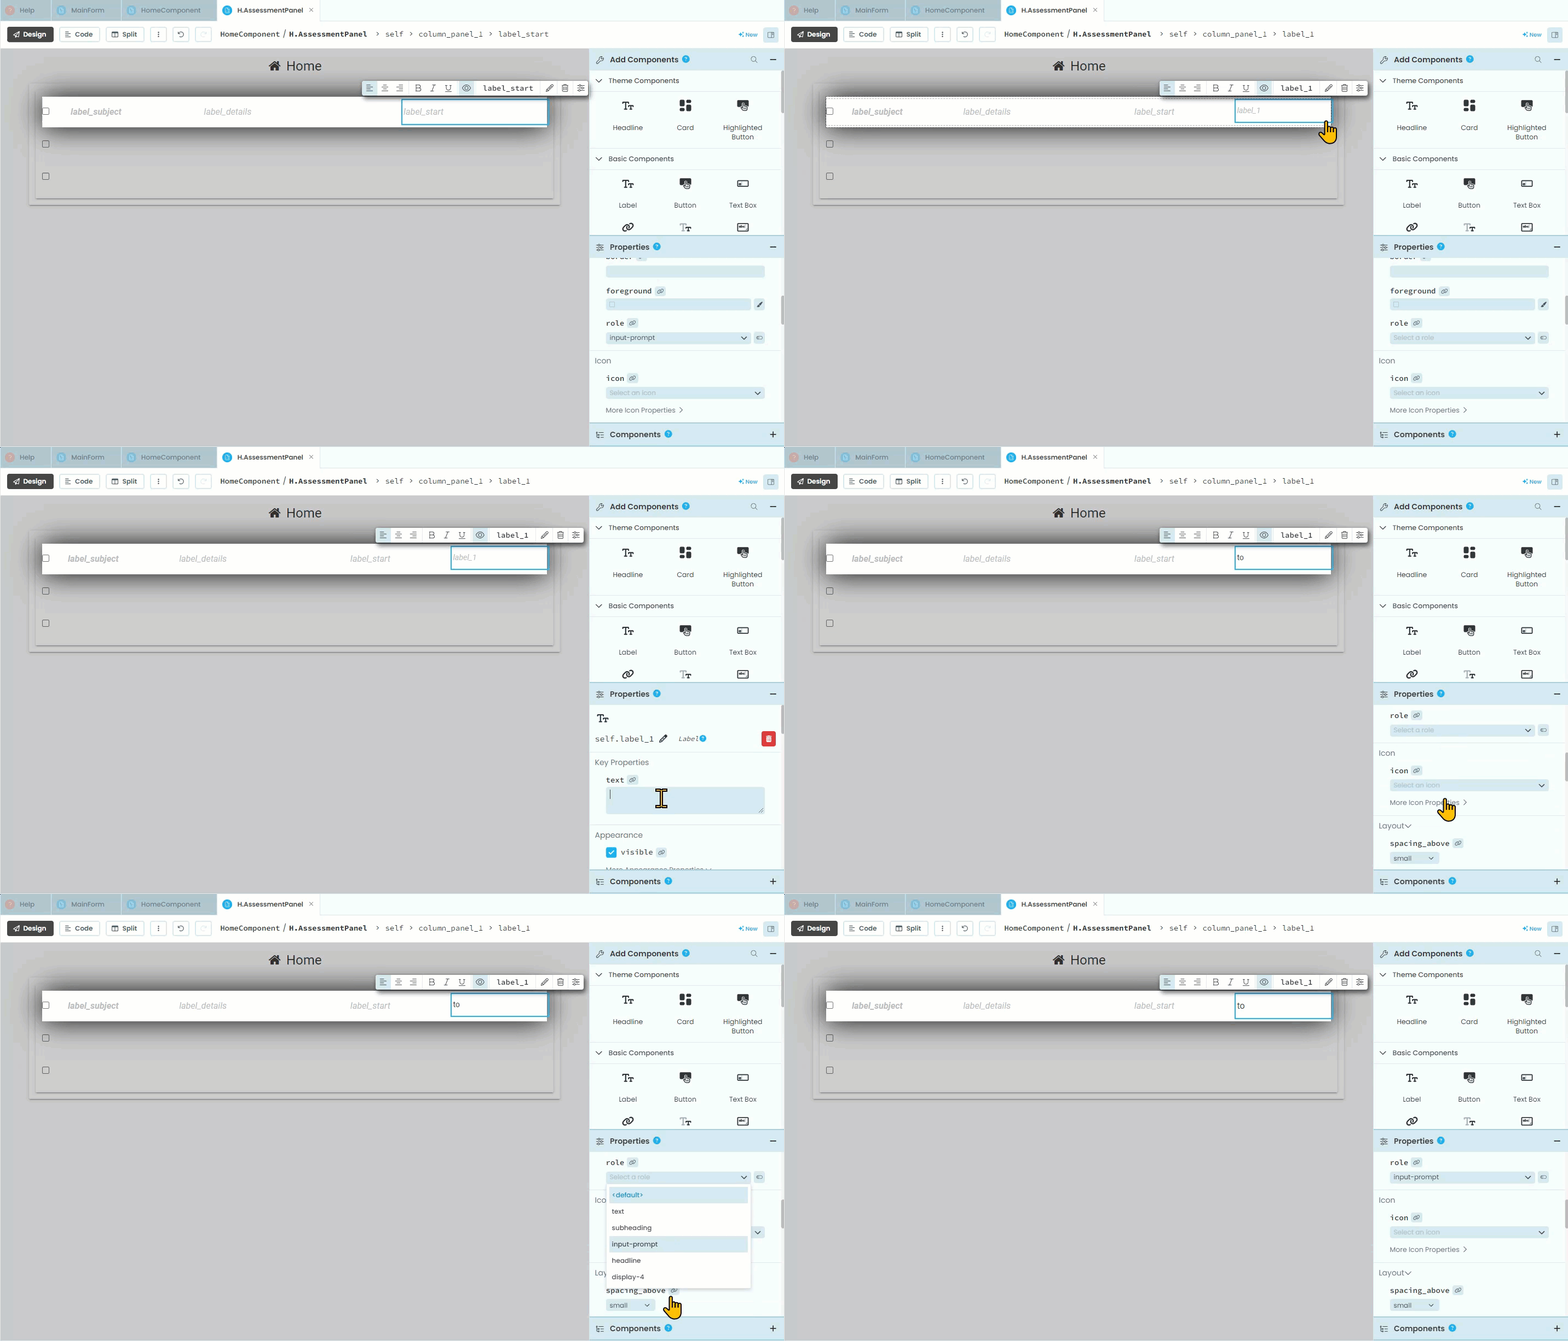
add another label beside to
rename it label_due
change the role to be the same as label_subject
click on the column panel
using the blue lines, change the column widths to best suit your content

We have now finished the layout, time to turn towards the code.